AI coding agents are very good at producing code that looks right. The problem is that looks right and is right for your codebase are rarely the same thing. Hand an agent a product requirement and ask it to implement the feature, and you will usually get something that runs. Whether it matches your team’s conventions, integrates correctly with the systems you already have, and uses the current version of every API it touches is another question entirely.
The common response is to iterate: prompt, review, correct, prompt again. This works, but it is slow, and it tends to surface the same mistakes repeatedly. The agent does not learn what your team already knows.
In this tutorial you will see how Spektacular’s Spec Driven Development workflow improves this iterative process by taking a measured, planned approach to feature development.
We are going to walk through the process end to end, adding a SQLite-backed datastore to an existing Go HTTP API as the example. The example itself does not matter much; what matters is the pattern, and the part of the pattern where most runs succeed or fail: providing the right context.
The tutorial works with every coding agent Spektacular supports. Pick yours at the top of the page, and the agent-specific commands and screenshots will swap to match.
What is Spektacular
Spektacular is a CLI and a collection of skills that integrates with your coding agent and drives Spec Driven Development end to end. It is agent-agnostic, shipping with adapters for Claude Code, Codex, and Bob, and it has a pluggable data layer so you can store your specs and knowledge base in whatever way works for you.
There are three agent skills that do the real work:
/spek-new # scaffold a new specification/spek-plan # turn a spec into a detailed implementation plan/spek-implement # drive the agent through the planEach skill runs as a resumable state machine. You can stop in the middle of a run, edit a file, and pick the run back up. Nothing is hidden inside opaque agent state: the spec, the plan, the supporting research and context documents, and the project knowledge base all live on disk where you can read and edit them.
What is Spec Driven Development
Spec Driven Development (SDD) is a methodology for working with AI coding agents. It improves the quality of an agent’s output through a simple process: sharpen the description of what you want, and supply the context of the system it will be applied to. You already do something similar as a human. Before starting to code, you form an idea of what needs to be done, and using your knowledge of the system and the team’s practices, you work out where and how to implement the change.
There are three pillars:
- Specification: written by a human, focused on behaviour and constraints, never on implementation.
- Context: the team’s collective memory written down, plus live documentation for anything that changes faster than the model.
- Process: spec, plan, refine, implement, with a human in the loop at every transition.
Done right, it feels close to vibe coding but with sharper output. Let’s set the project up, then walk through each pillar in turn.
Setting up your project
In this tutorial we are going to add a SQLite database to an existing Go HTTP
API. You can follow along by cloning the following repository and checking out
the tutorial branch:
https://github.com/jumppad-labs/tutorial-spektacular-how-to
The main branch contains the final code after the tutorial is complete, so
you can check your work against it at any time.
Cloning the example repository
First, clone the example repository and check out the tutorial branch:
git clone https://github.com/jumppad-labs/tutorial-spektacular-how-tocd tutorial-spektacular-how-togit checkout tutorialInstall Spektacular
Spektacular is a Go binary. Install it from GitHub releases, Homebrew, or your distribution’s package manager. Pick whichever method fits your workflow from the installation guide.
Once it is on your PATH, verify the install:
spektacular --versionInstall and configure your coding agent
Spektacular drives an external coding agent. Install the one you picked at the
top of the page. The rest of the tutorial assumes it is on your PATH.
Install Claude Code and sign in once.
claude --versionInstall the Bob CLI from https://bob.ibm.com/download?bob=shell and run the following command to validate that everything is working.
bob --versionInstall the Codex CLI and complete its first-run setup. Spektacular
invokes codex non-interactively for each phase, so make sure the
CLI succeeds outside Spektacular before continuing.
codex --versionInitialise your project
Every repository you want to use Spektacular with needs to be initialised. This installs the skills into your coding agent and configures the local knowledge base for the project.
Run spektacular init from the root of the codebase you want Spektacular to
operate on, passing your chosen agent’s identifier so Spektacular knows which
CLI to drive.
cd my-projectspektacular init claude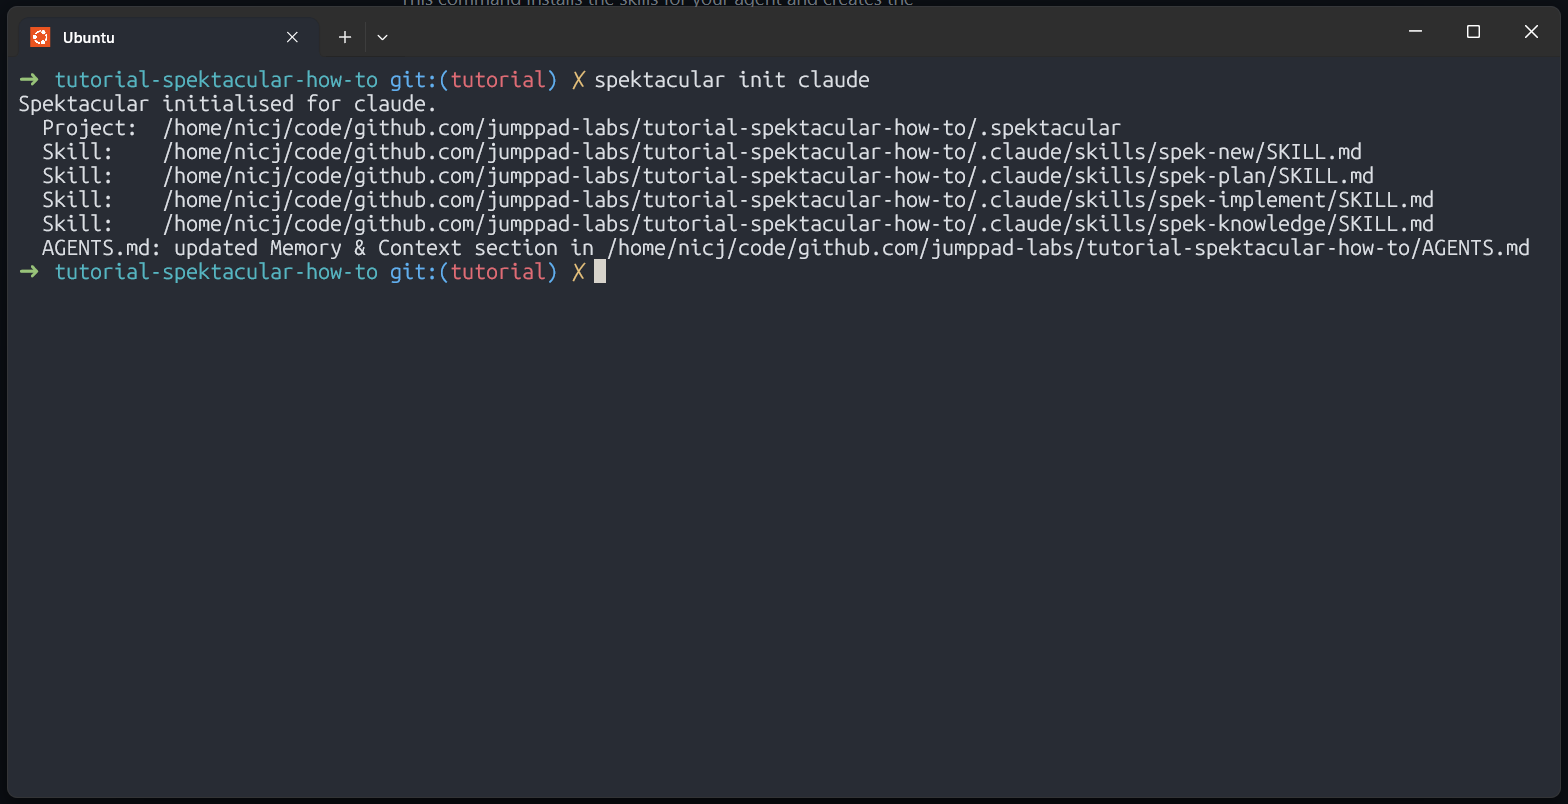
cd my-projectspektacular init bob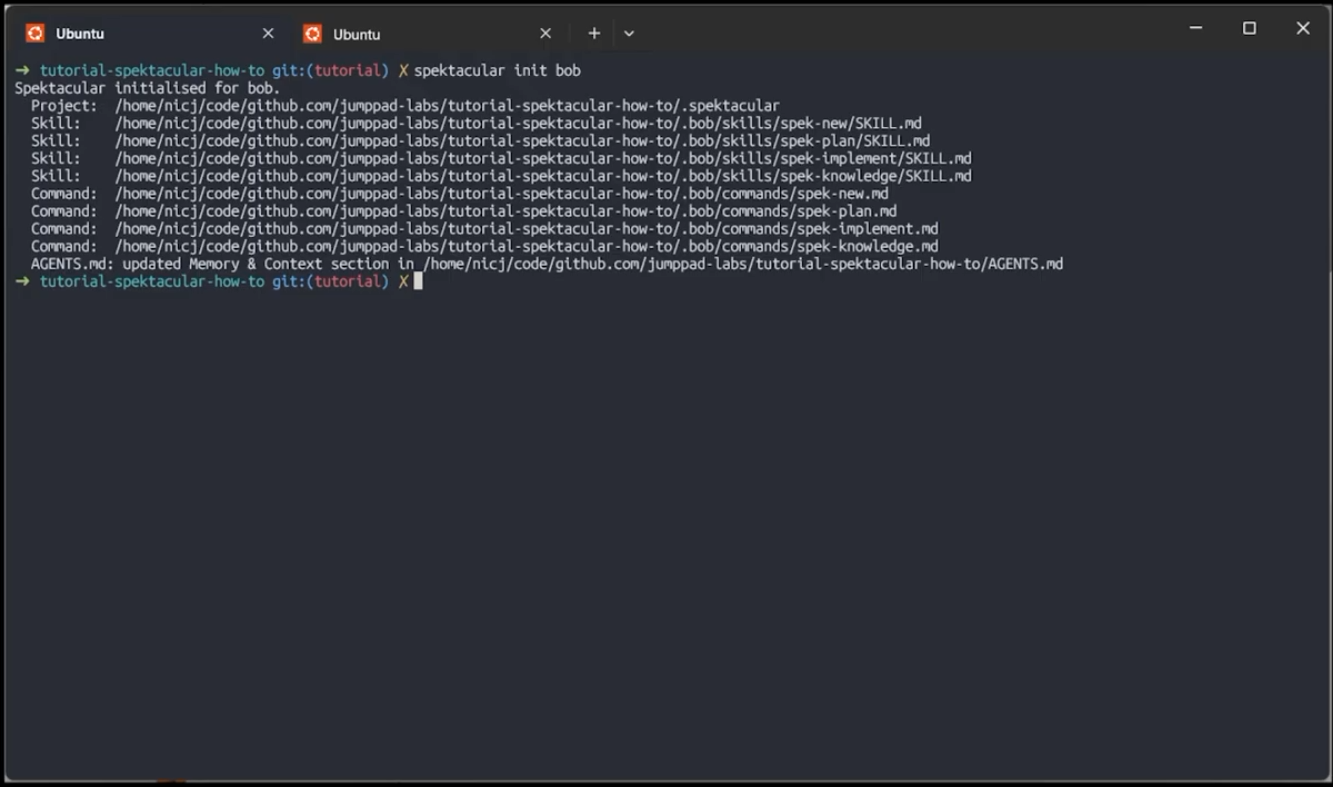
cd my-projectspektacular init codexThis command installs the skills for your agent and creates the
.spektacular/ folder, which contains the default config and the
project-level knowledge base.
A project isn’t limited to the repository you just initialized: it can register other repositories too, such as a companion docs repo, so that planning and implementation work can span all of them together. See Multi-Repo Projects to learn how.
Let’s now look a little deeper at the specification.
The specification
If you have worked with Product Requirement Documents (PRDs), you will be familiar with the process of translating business requirements into a technical specification that you can turn into code. The specification in Spektacular serves the same purpose: it is a hint to the agent about what you want to build.
The key thing about a specification is that it captures what you want to build, not how you want to build it. The how is the agent’s job. The Spec Driven Development process guides the agent to produce code that satisfies your requirements and fits the way your system is already built.
The specification in the Spektacular workflow is a markdown file with the following sections:
- Overview
- Requirements
- Acceptance Criteria
- Constraints
- Technical Approach
- Success Metrics
- Non-Goals
The content in these sections guides the agent when it creates the technical plan that is later implemented. Time invested in the specification pays off, because the resulting plan is more likely to be correct and to contain the features you actually want. The spec also serves as living documentation, and it lets you collaborate with your team on the requirements before any code is written.
Let’s use the spek-new skill to scaffold a new specification for our SQLite
feature.
Using the skill
Start a new instance of your agent and run the following to start the spek-new skill:
/spek-newYou will be prompted to enter the name of the feature that you want to build.
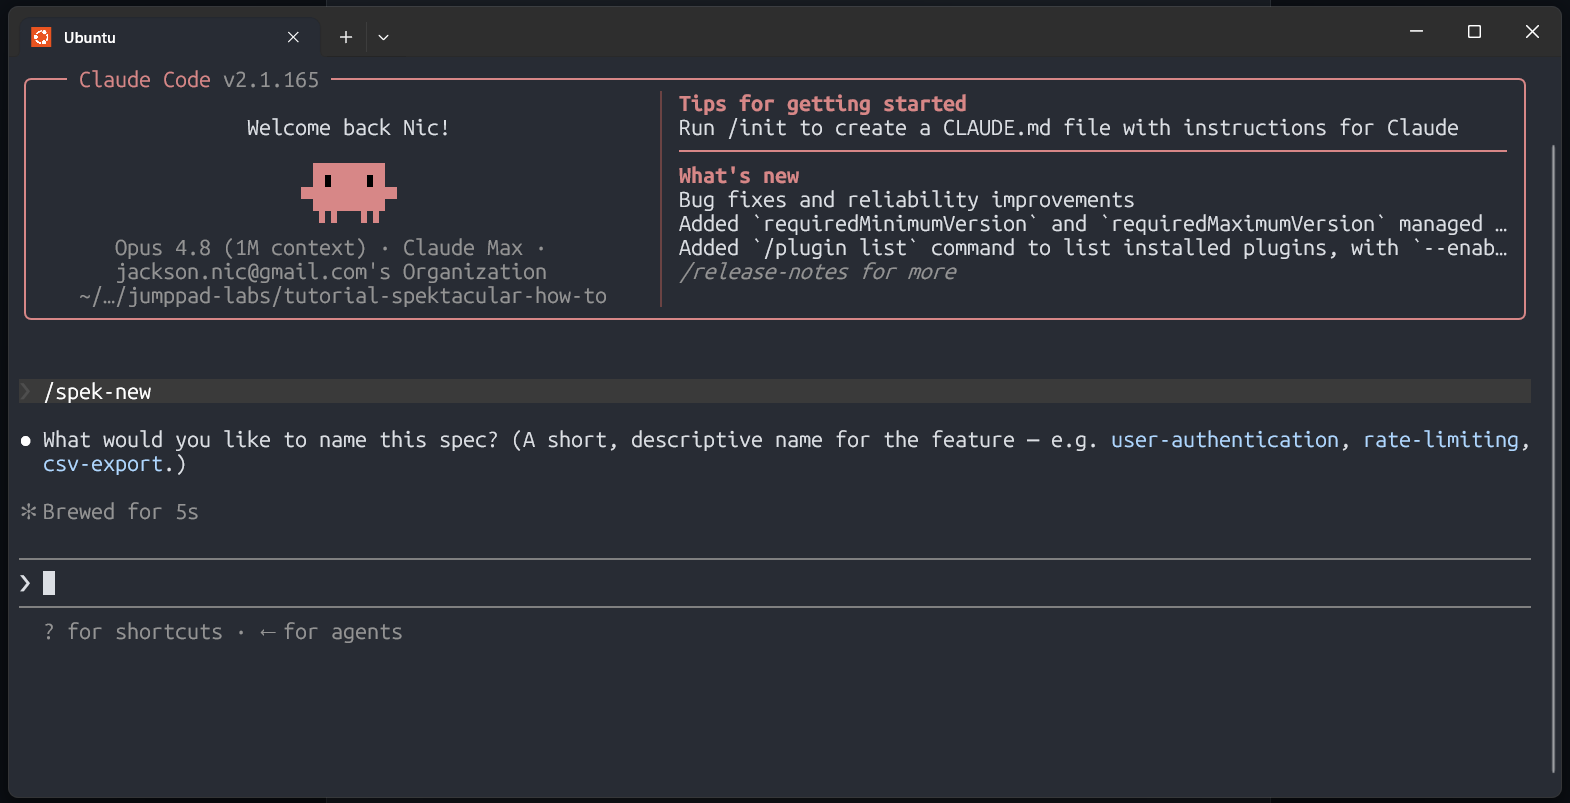
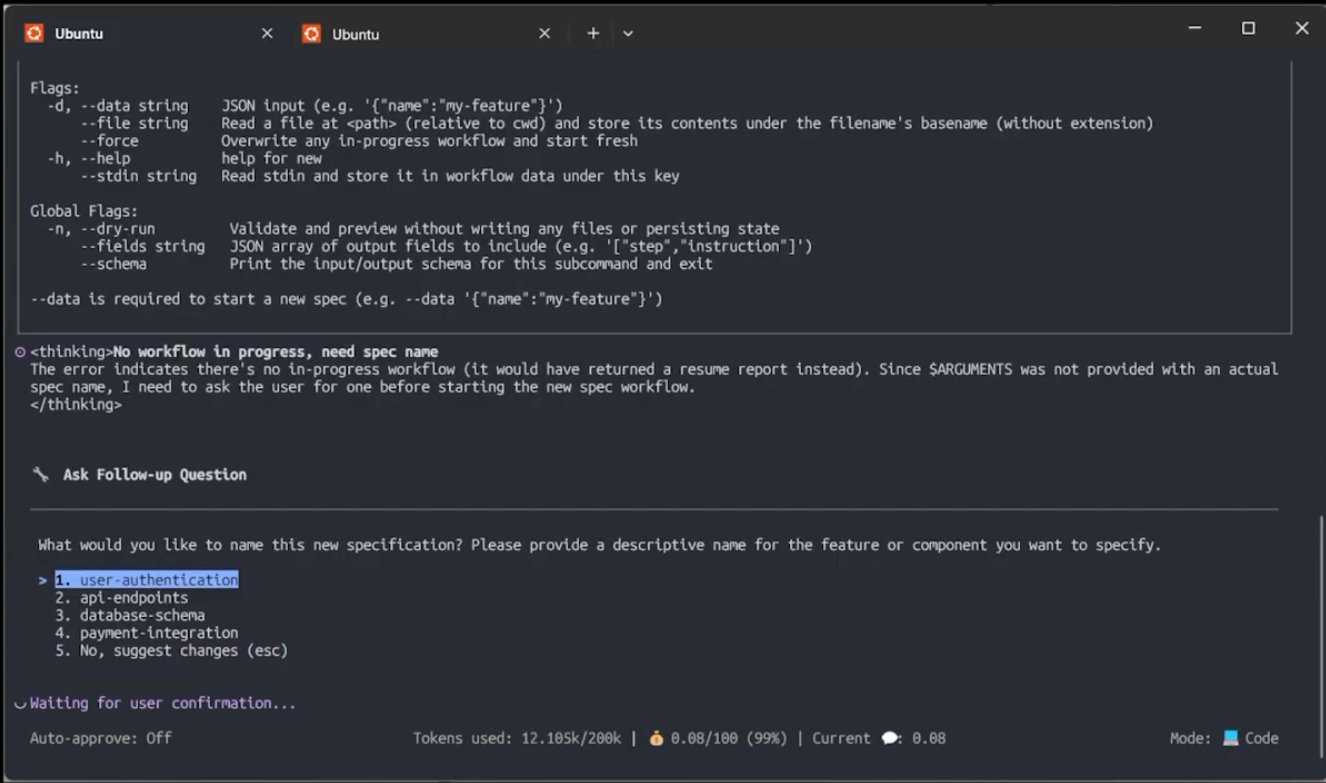
For the tutorial we are going to use SQLite migration as the feature name.
Spektacular will automatically create the file name for the spec and allocate an
ID to it. This depends on the configuration for your project. The
configuration for the example is stored at .spektacular/config.yaml; the
following shows the config for the spec section.
spec: provider: file id_method: timestamp config: directory: .spektacular/specsWhen you enter the name SQLite migration into the prompt box, you will be prompted to run a command. The way Spektacular works is that the skill prompts the agent to call the Spektacular CLI with the right arguments. This handles tasks like creating the spec file and enabling knowledge base lookups.
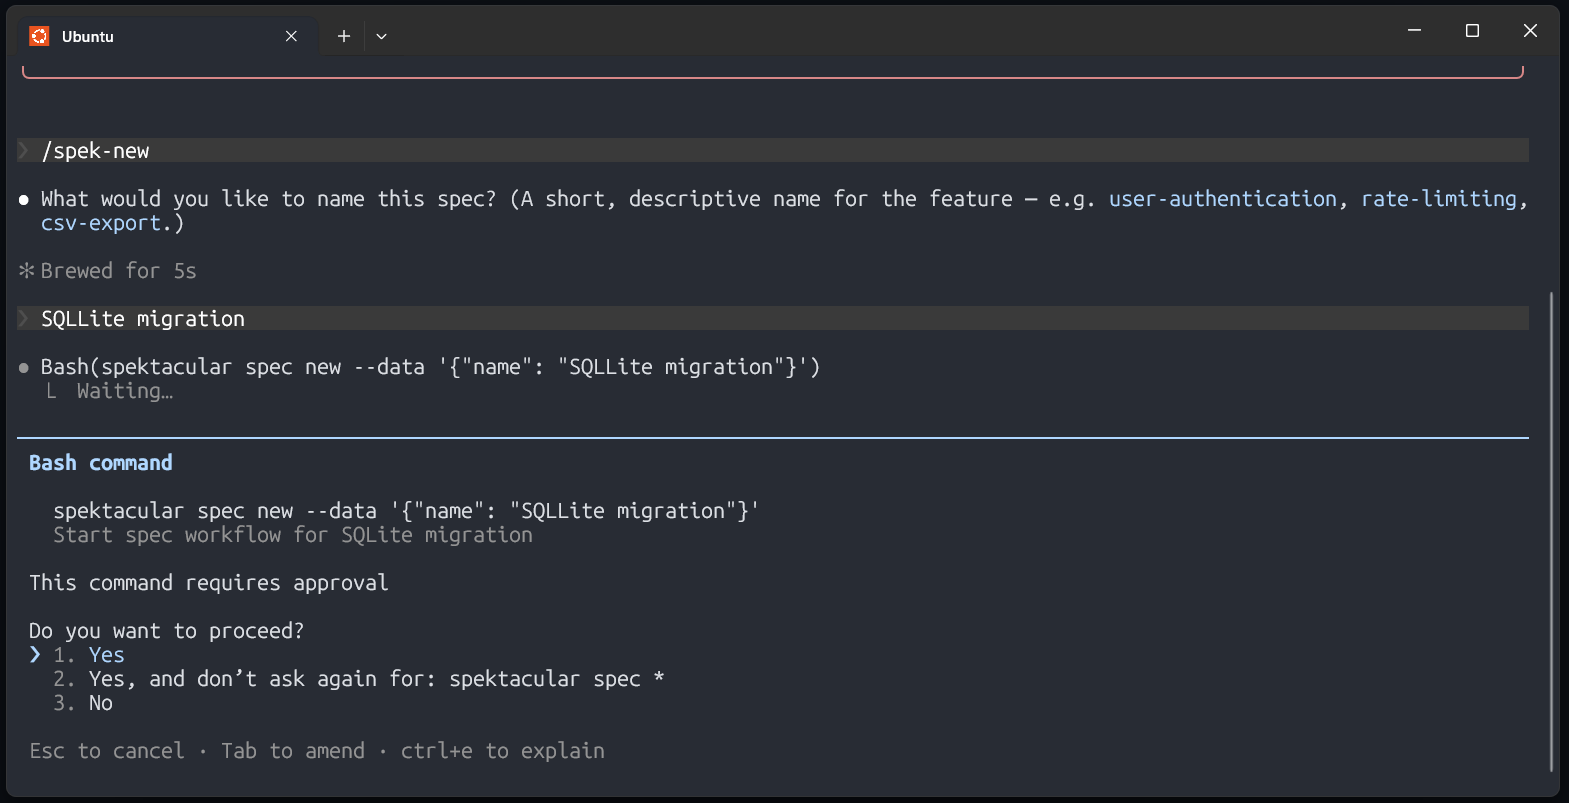
Once you approve, an empty spec will be created in the folder
.spektacular/specs, and the agent will then start to prompt you to complete
the sections of the spec.
Overview
The overview is a short two-or-three-sentence summary that answers what is being built, what problem it solves, and who benefits. For the SQLite migration the overview might look like this:
Currently the monsters and users are stored in plain text files. We should migratethis to a datastore so the system can safely handle updates from multiple threadswithout relying on file writes. This benefits the teams operating and extendingthe service by making data updates more reliable and scalable.In the prompt box for your agent, enter the overview and submit it.
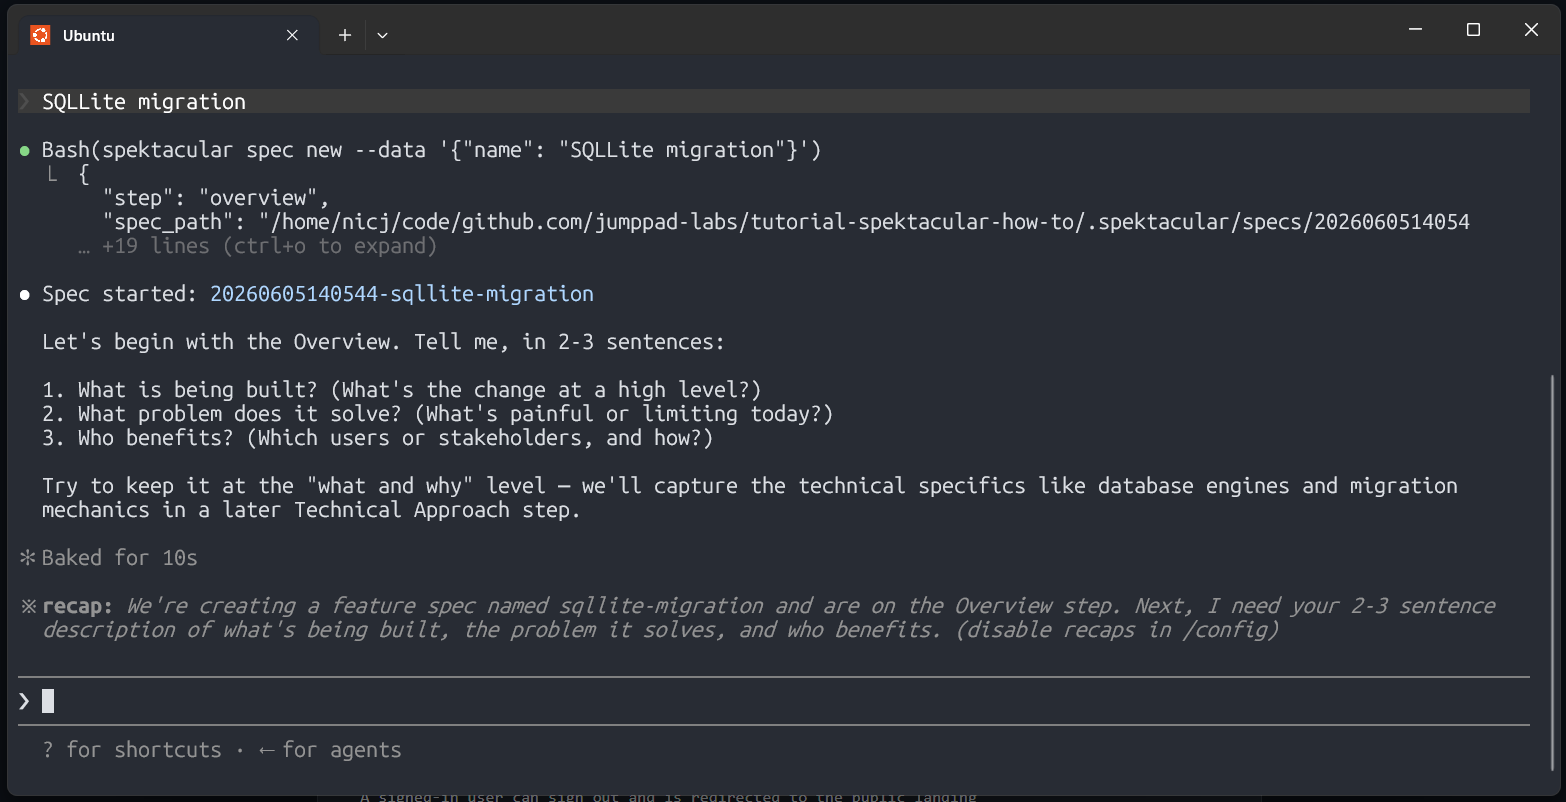
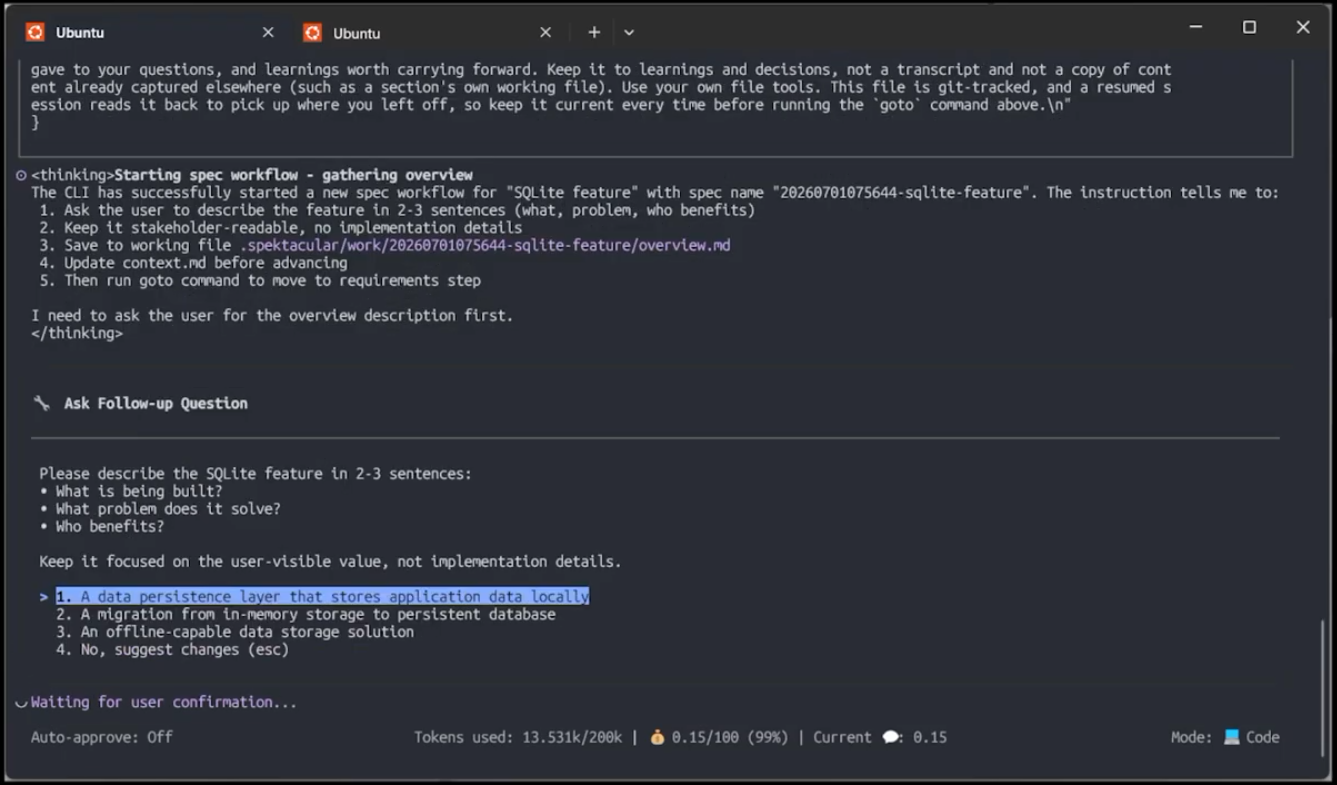
Once you submit it, the agent will move on to the next section, which is the requirements.
Your agent will probably ask you for permission to write to a temporary file. Spektacular writes all temporary content and context to disk before creating the final specification or plan. This makes the workflow resumable, and it also lets you see and edit the working copy.
Requirements
Requirements are specific, testable behaviours written in an active voice (“Users can…”). Each item should be independently verifiable and focused on what, not how.
Quite often the agent will assist you with some example requirements if it can infer enough detail from the overview, or it may ask you some clarifying questions that help you write better requirements.
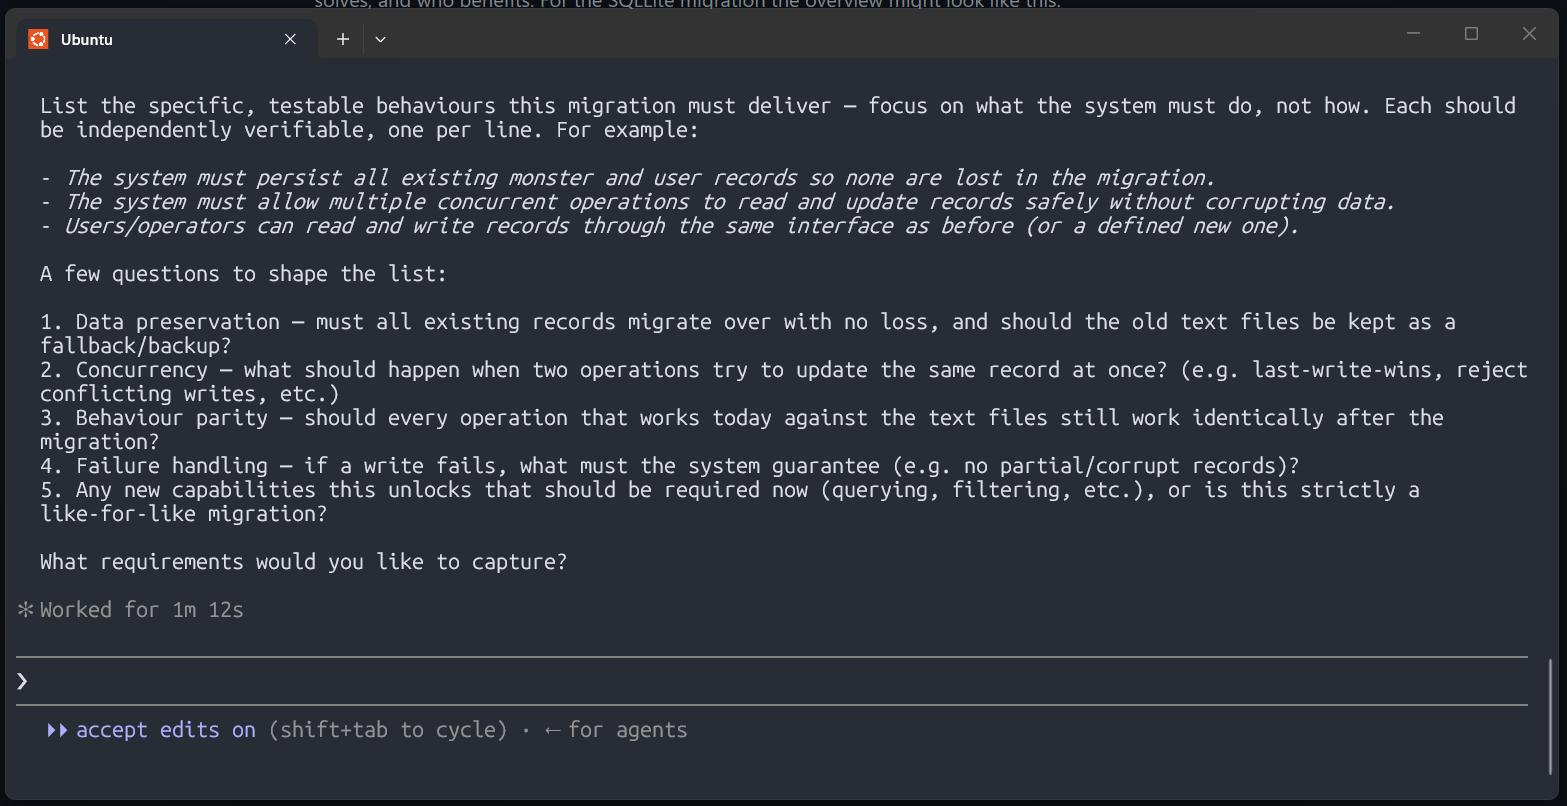
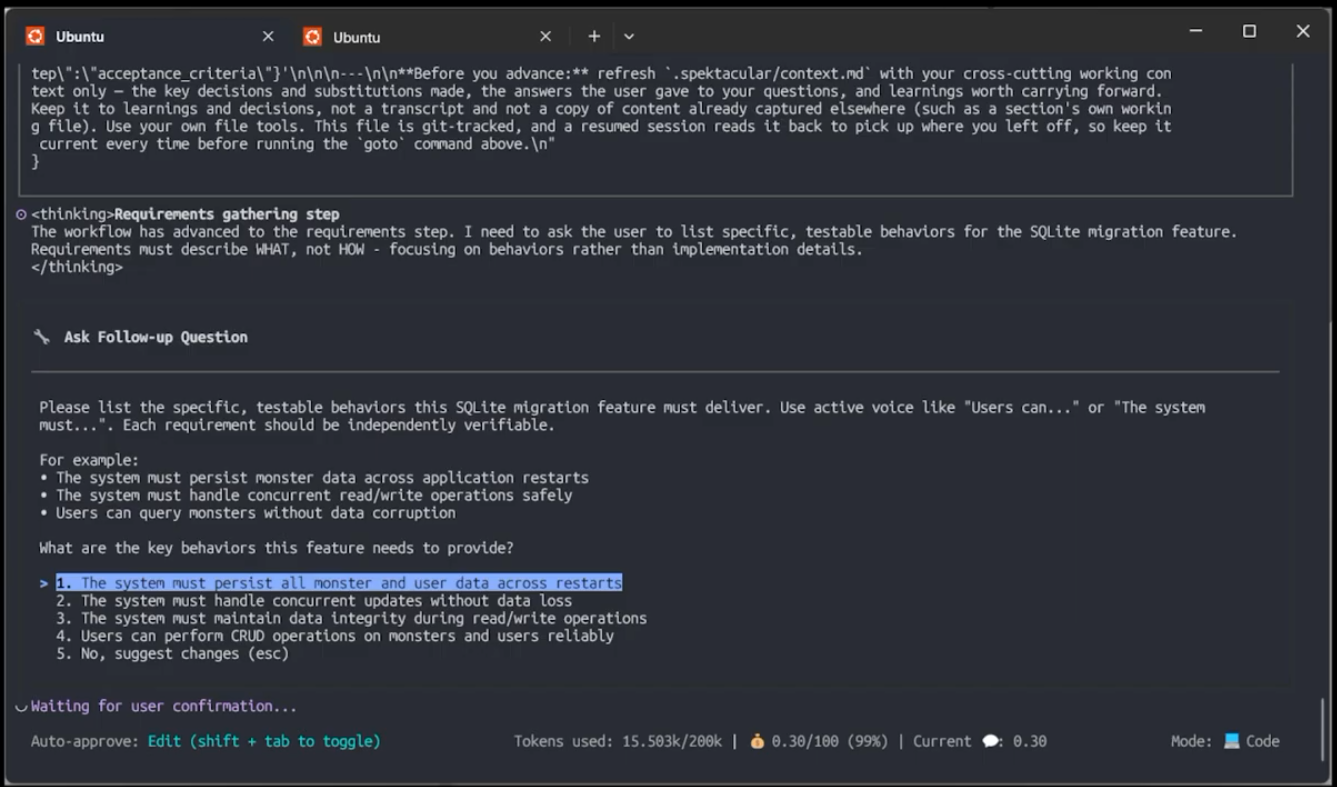
If you answer the questions the agent asks you, it will attempt to generate some requirements for you. You can then edit these to make them more specific, or add any that you think are missing. Below is the list the agent suggested for me:
1. The system must store all monster and user records in a datastore instead of plain text files.2. The system must migrate all existing monster and user records into the datastore so no existing data is lost.3. The system does not need to retain the old text files after migration.4. The system must apply every record update atomically, so an update either fully succeeds or has no effect.5. The system must apply concurrent updates in a well-defined order so simultaneous operations do not interfere with oneanother.6. The system must allow multiple concurrent operations to read and update records safely without data corruption.7. If a write fails, the system must guarantee no corrupt or partial records and no loss of previously committed data.8. Every operation available against the existing text-file storage must continue to work identically after the migration.9. This change introduces no new user-facing capabilities; it is a like-for-like migration.For this tutorial we will simplify the list to the following requirements. If the agent has already suggested a list, tell it to replace that list with the simplified one below. If it has not suggested a list yet, just tell it to use this one.
- The system must persist monsters and users across service restarts.- The system must allow multiple threads to update monster and user data safely without corruption.- The system must return the latest committed monster and user data to readers.- The system must support creating, updating, and retrieving monster and user records.- The system must query the datastore on demand instead of loading all monster and user data into memory at startup.Next let’s look at the acceptance criteria.
Acceptance Criteria
Acceptance criteria are binary pass/fail conditions, each traceable to a requirement.
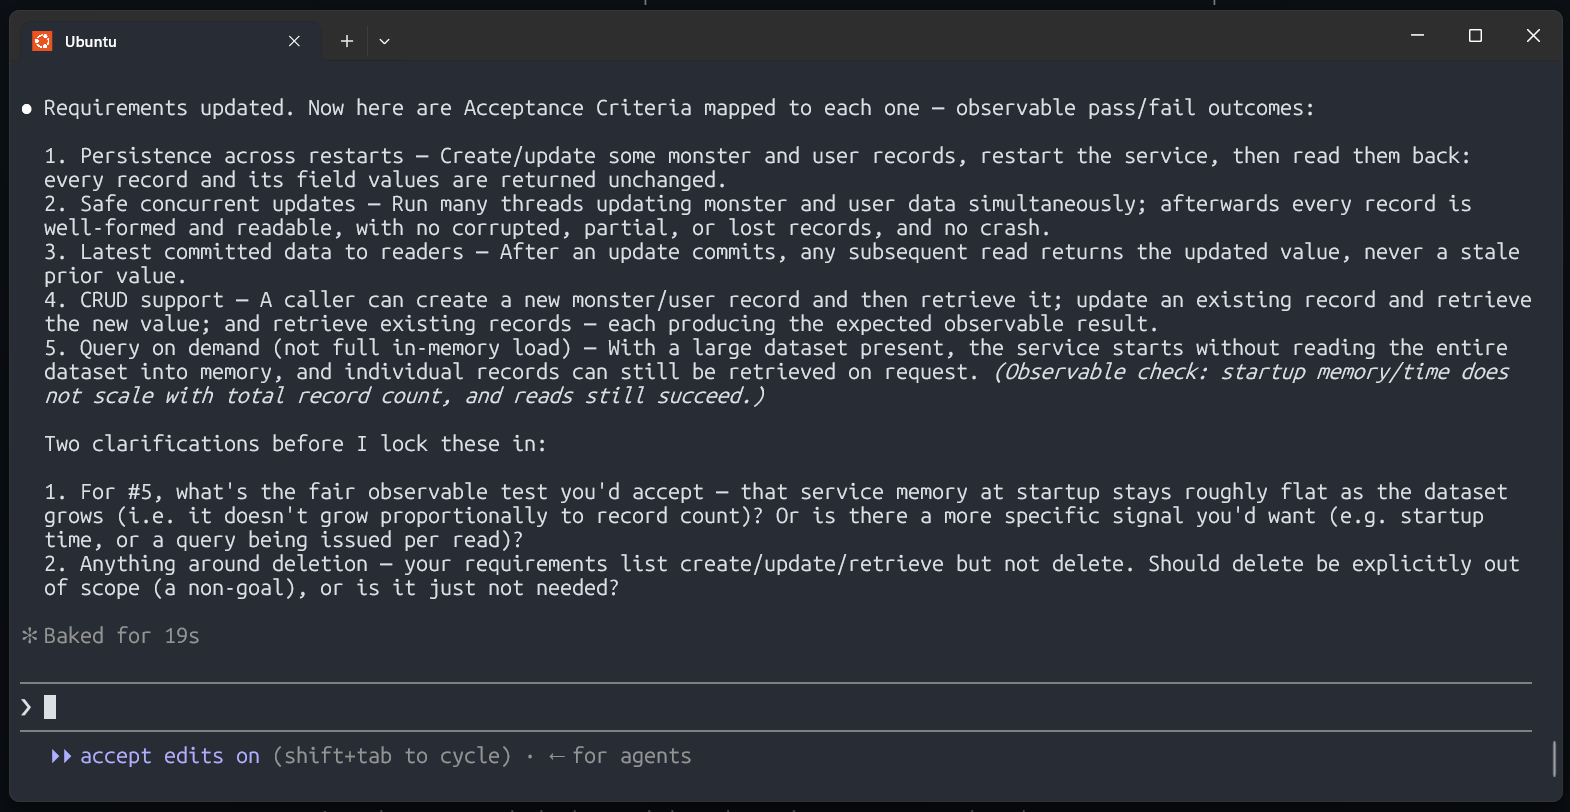
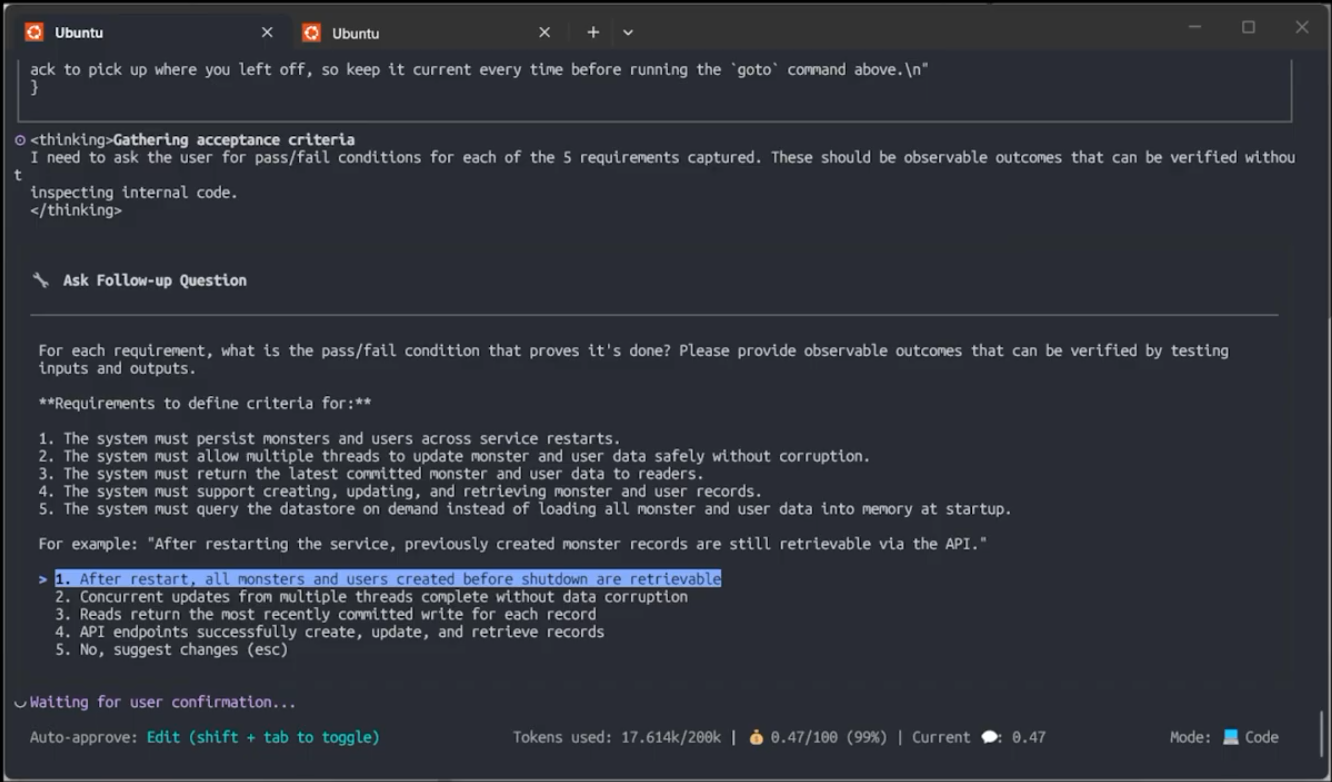
Again the agent has suggested some acceptance criteria based on the requirements and it is also prompting you to answer some questions that best help it refine this list. Interestingly the agent is also asking about deletion, which was not one of our requirements but is a common capability for an API. For this tutorial, let’s just use the following list for the acceptance criteria.
- When the service restarts, previously created monsters and users are still available.- When multiple updates happen at the same time, all successful changes are preserved without corrupted records.- When a monster or user record is updated, the next read returns the updated values.- When a client creates, updates, or retrieves a monster or user record, the operation succeeds and returns the expected data.- When the service starts, it does not require preloading all monster and user data before serving requests, and requested records are returned from the datastore on demand.Good acceptance criteria let two independent reviewers run a test and reach the same yes-or-no answer. A bad one reads like “The API should feel responsive.” That is not independently verifiable, because “responsive” is subjective and depends on the tester’s expectations and experience. To make responsiveness a criterion, we would make it measurable, for example: The API should respond to monster read requests within 100ms, 95% of the time, under a load of 100 concurrent users.
At no point have we defined any technical implementation details. The spec’s job is to describe what the system must do, not how it does it. The moment you put a code snippet in a spec, you are making an implementation decision that belongs to the agent.
Next let’s look at the constraints.
Constraints
Constraints are hard boundaries the solution must operate within, ones that cannot be inferred from context. The agent has done a good job of asking clarifying questions that lead to constraints for this feature. For example, asking about external infrastructure would guide the technology choice.
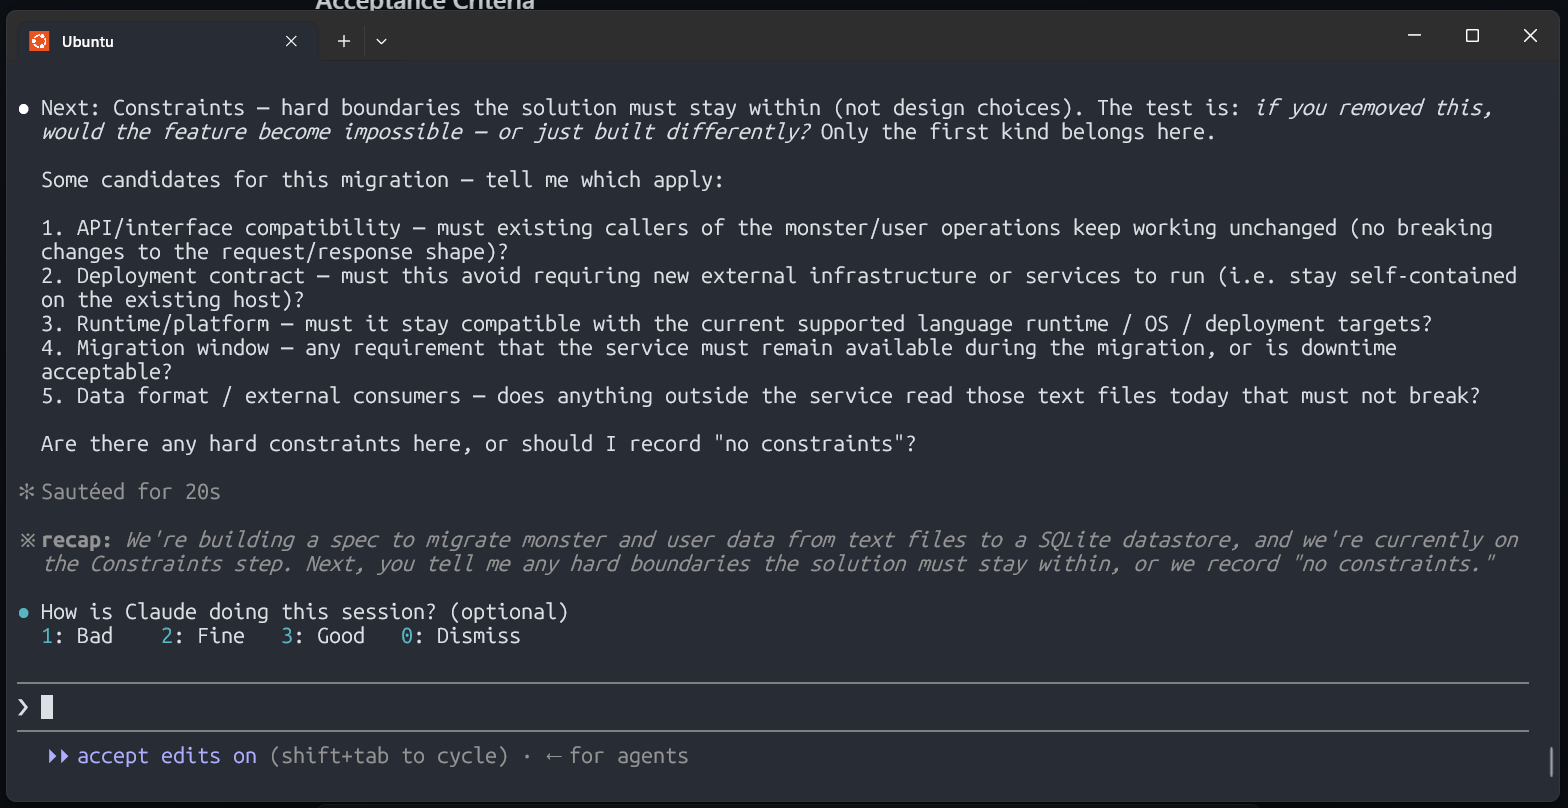
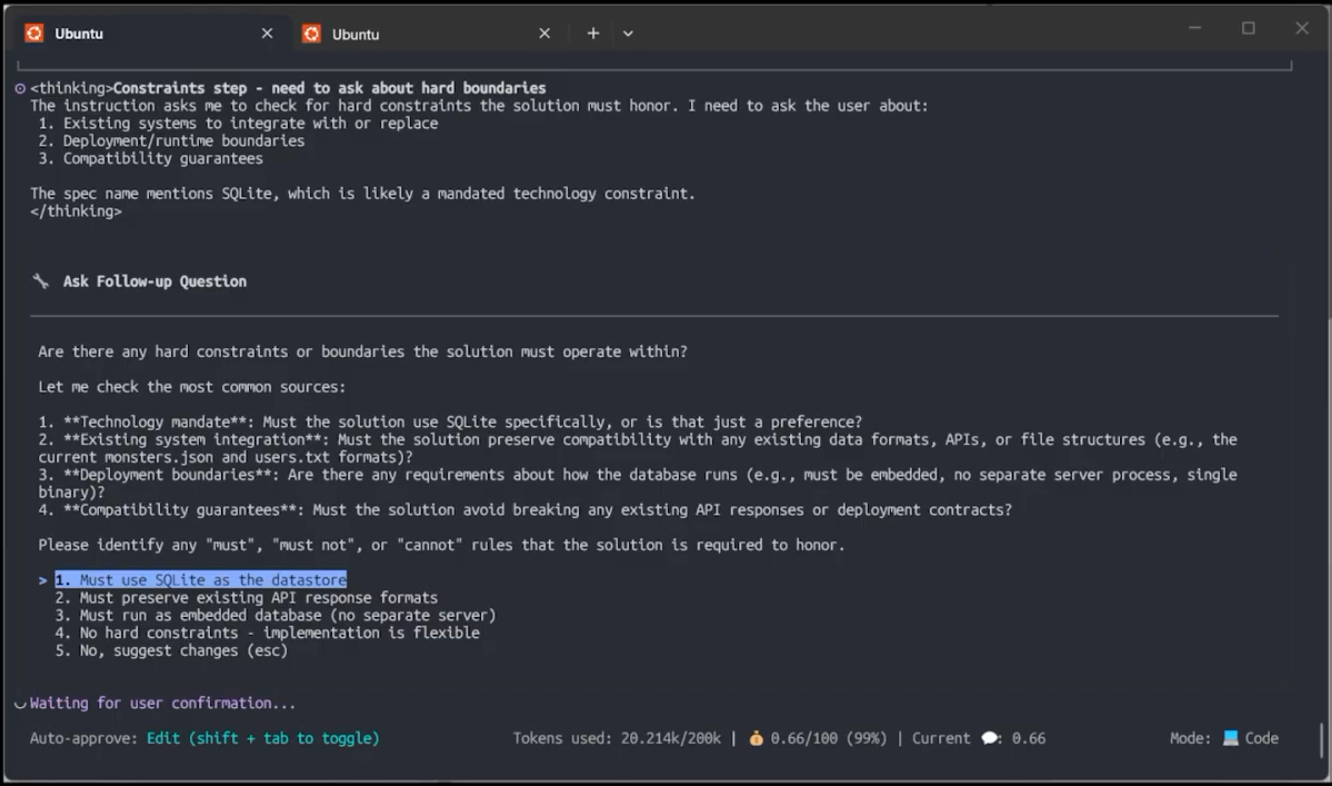
Let’s use the following list of constraints:
- Must use SQLite as the embedded datastore- Must replace file-based storage (monsters.json, users.txt)- Database file location must be configurable, defaulting to ./data.dbYou may wonder why the SQLite constraint is not part of the technical approach. A constraint is a non-negotiable boundary, whereas a technical approach is discretionary: you guide the agent, but you do not dictate the solution.
Let’s look at the technical approach for our feature.
Technical Approach
The Technical Approach should be kept brief. Only define what is specific to this feature and that you think the agent could not infer from the codebase or the knowledge base.
Ideally you would leave this section blank and let the agent propose the technical approach. The agent works best when you give it the freedom to design its own solution.
For that reason we will leave this section blank.
No technical direction is required.Next let’s look at how we will measure the success of this feature.
Success Metrics
The Success Metrics section is where you define how you will measure the success of the feature you are building. Define these so they are measurable, for example:
- p99 latency of the read API is under 200ms
- Read API should return the correct monster
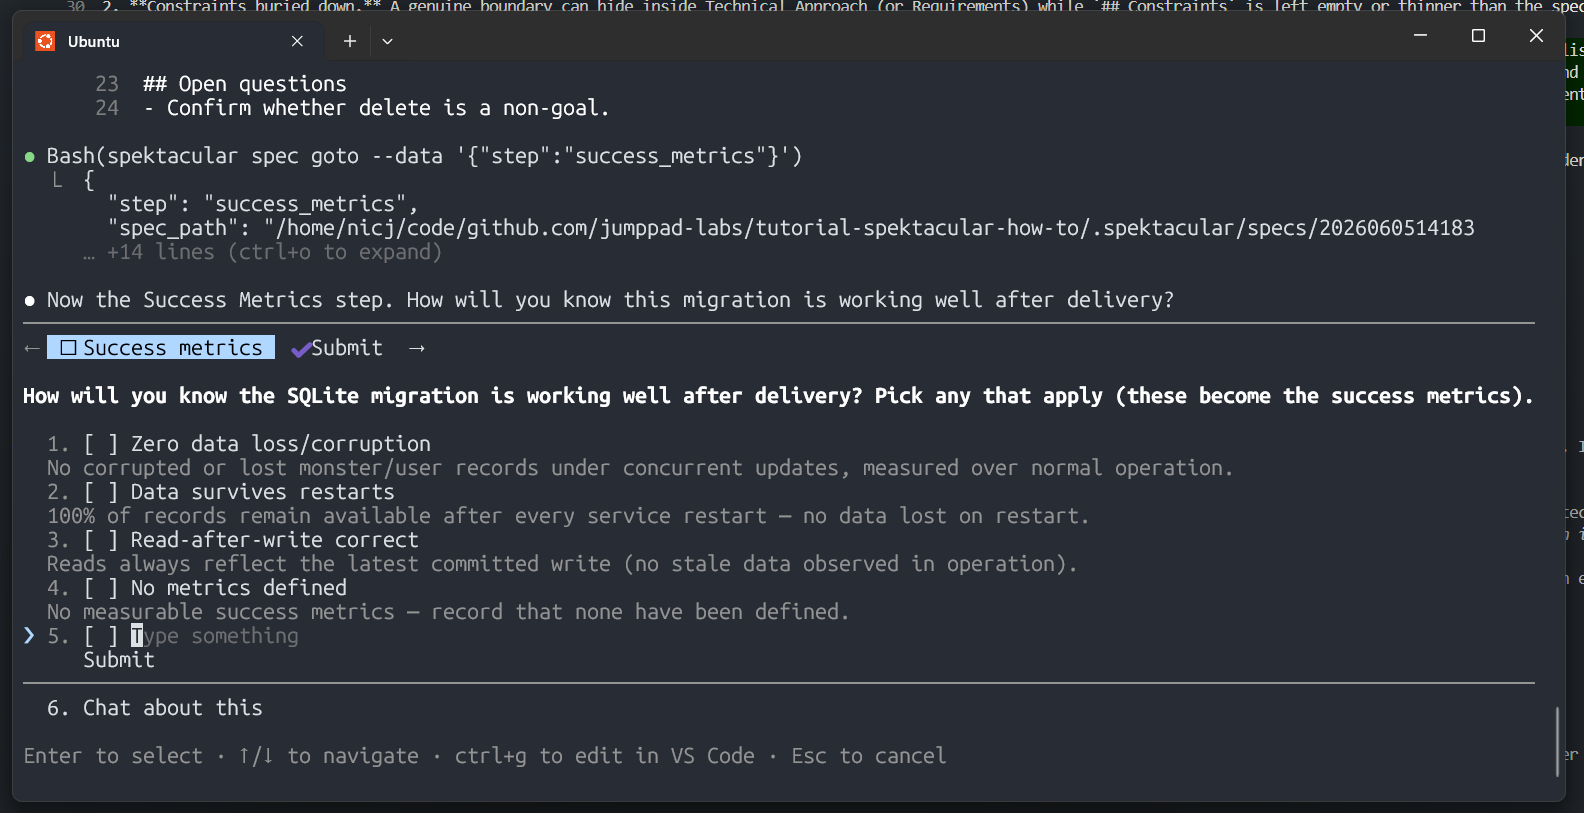
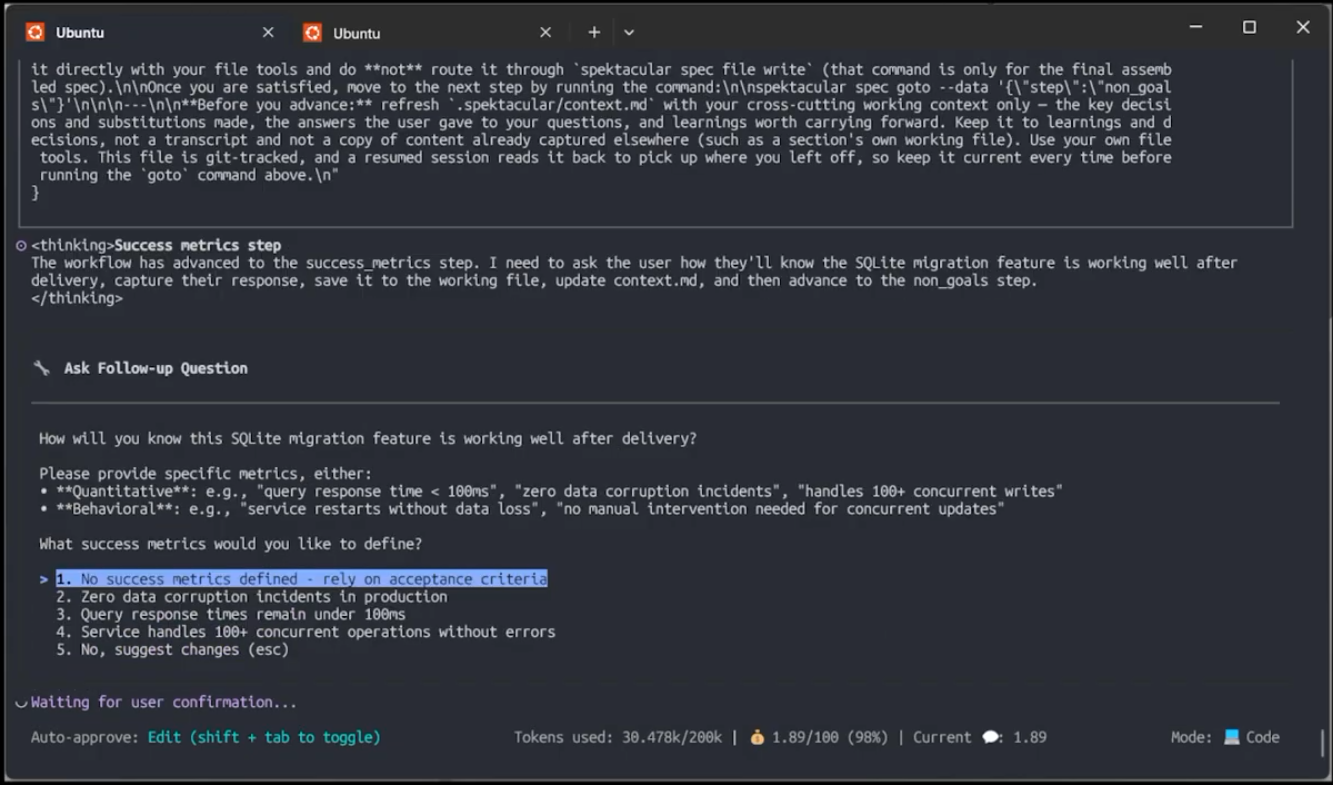
The content you add to this section influences the testing approach, which is defined in the plan and created during the implementation phase. If the feature’s success cannot be measured with automated tests, the implementation phase will generate a manual testing plan instead.
For this tutorial we will keep it simple and test our migration manually. To do that, we can simply add the following:
Will test manuallyFinally we have the non-goals section.
Non-Goals
The non-goals section captures anything you specifically do not want to do. This limits the scope of the plan.
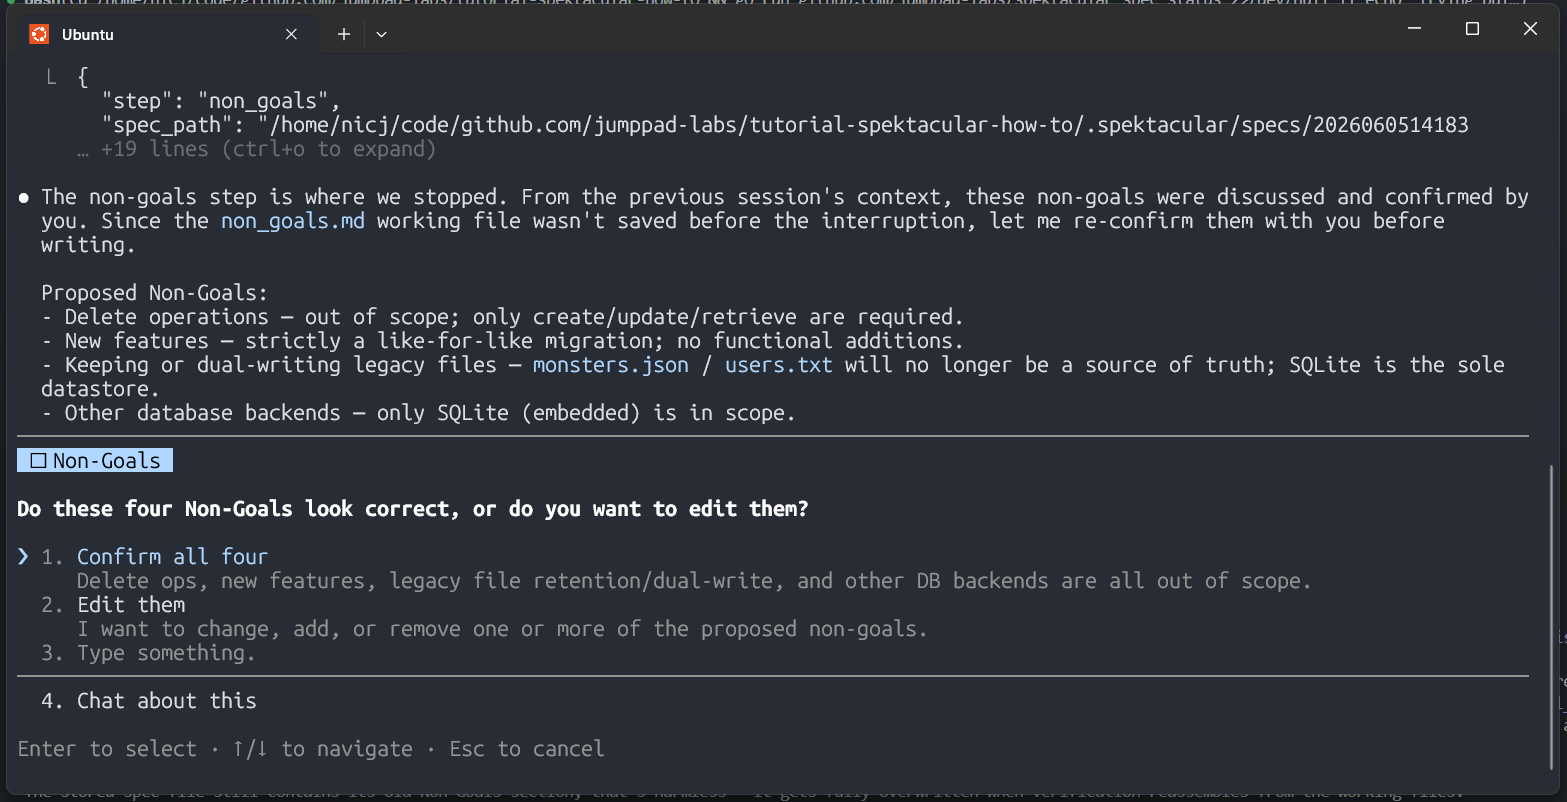
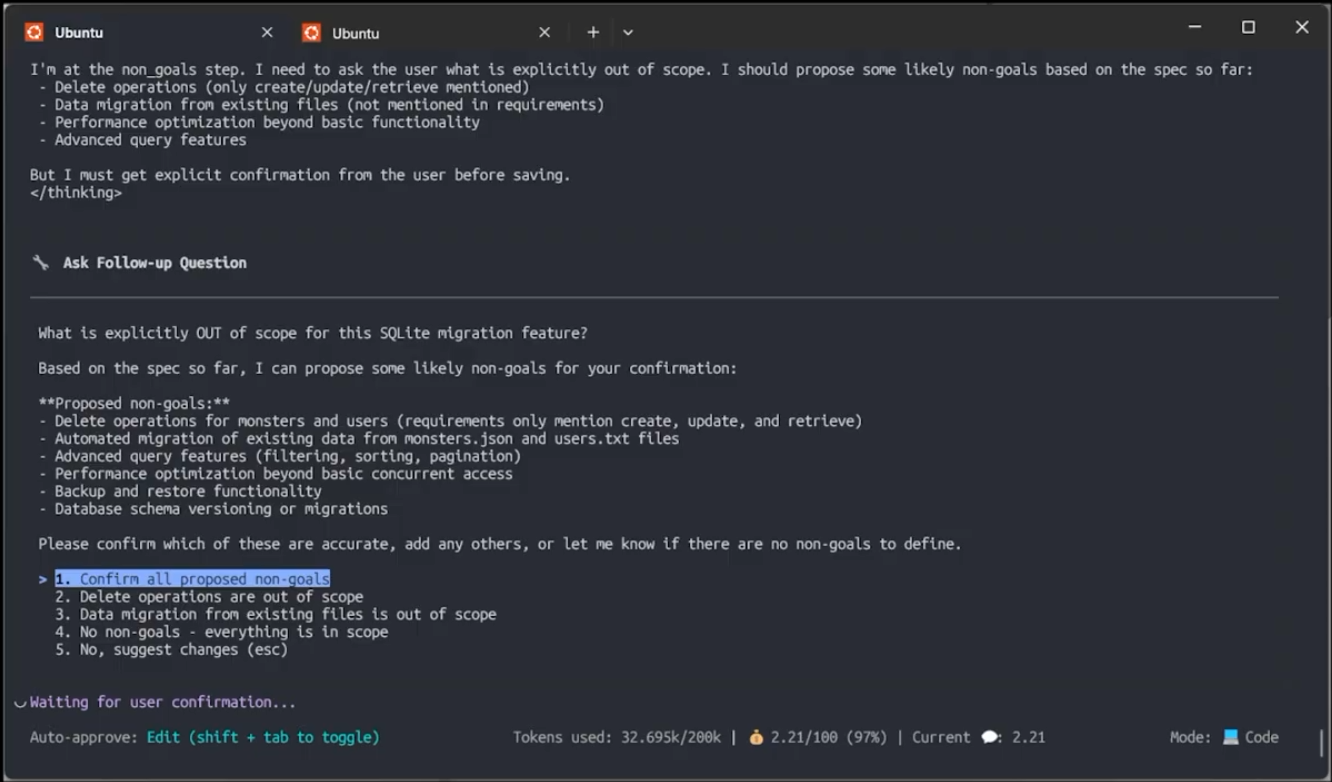
The skill tells the agent to suggest non-goals for you, based on the current specification and the answers you have already provided. In this instance the non-goals are correct for our feature, so we can just use the suggested list.
That completes the final section of the specification. The next step is for the agent to verify the specification before writing it to the specs directory.
Verification
In the final step, the agent runs a pass over the specification to verify that it is complete and meets the requirements for a good specification.
It does this in two ways. First, it checks that the specification is well formed. Second, a subagent is launched with only the finished document (not the working files, context, or conversation), which forces it to judge the spec the way a third-party reviewer would. Any feedback from the subagent is passed back to the main agent, which can make final adjustments before writing the spec to disk.
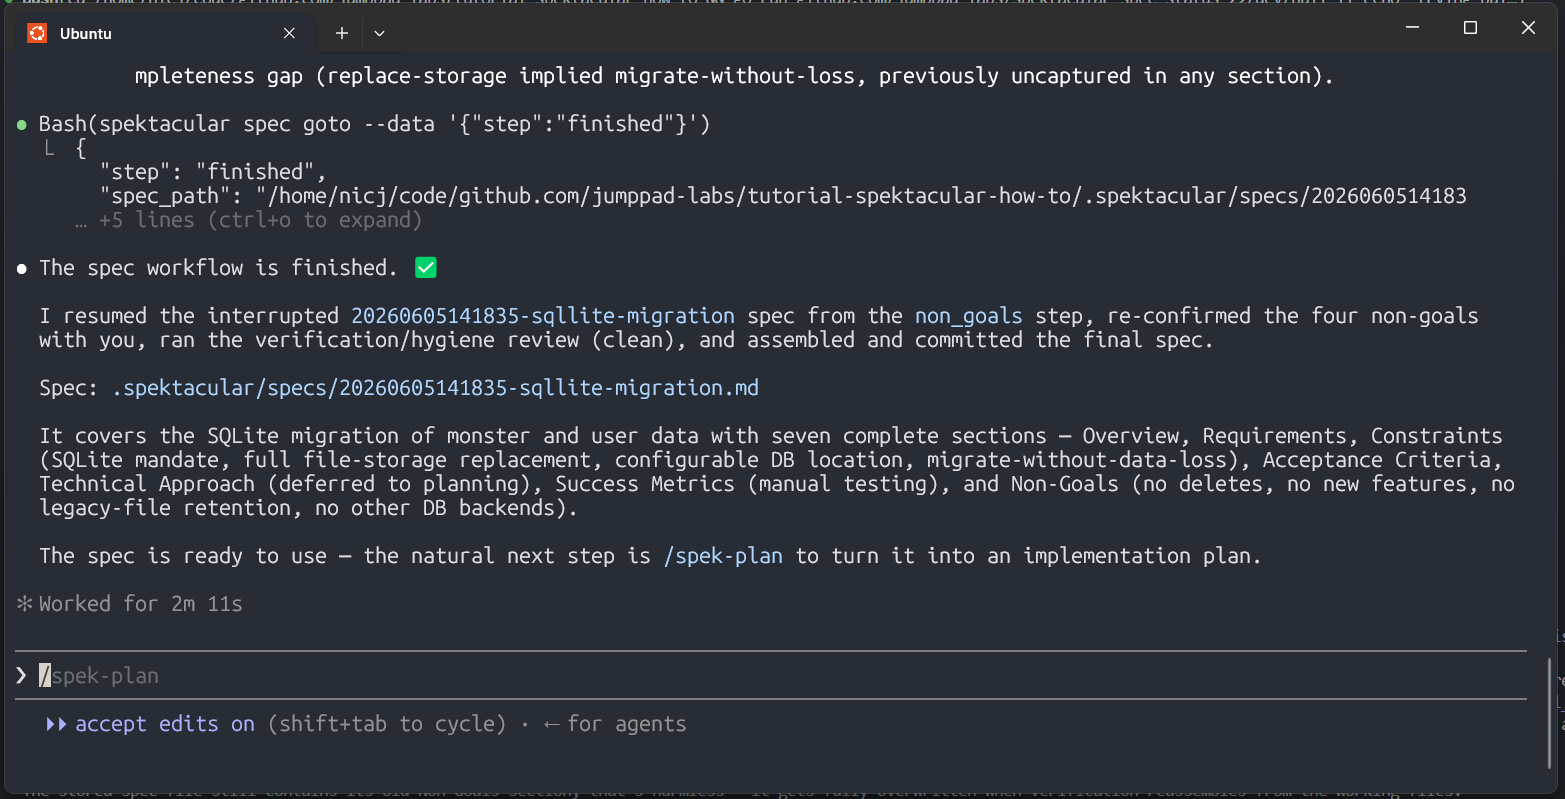
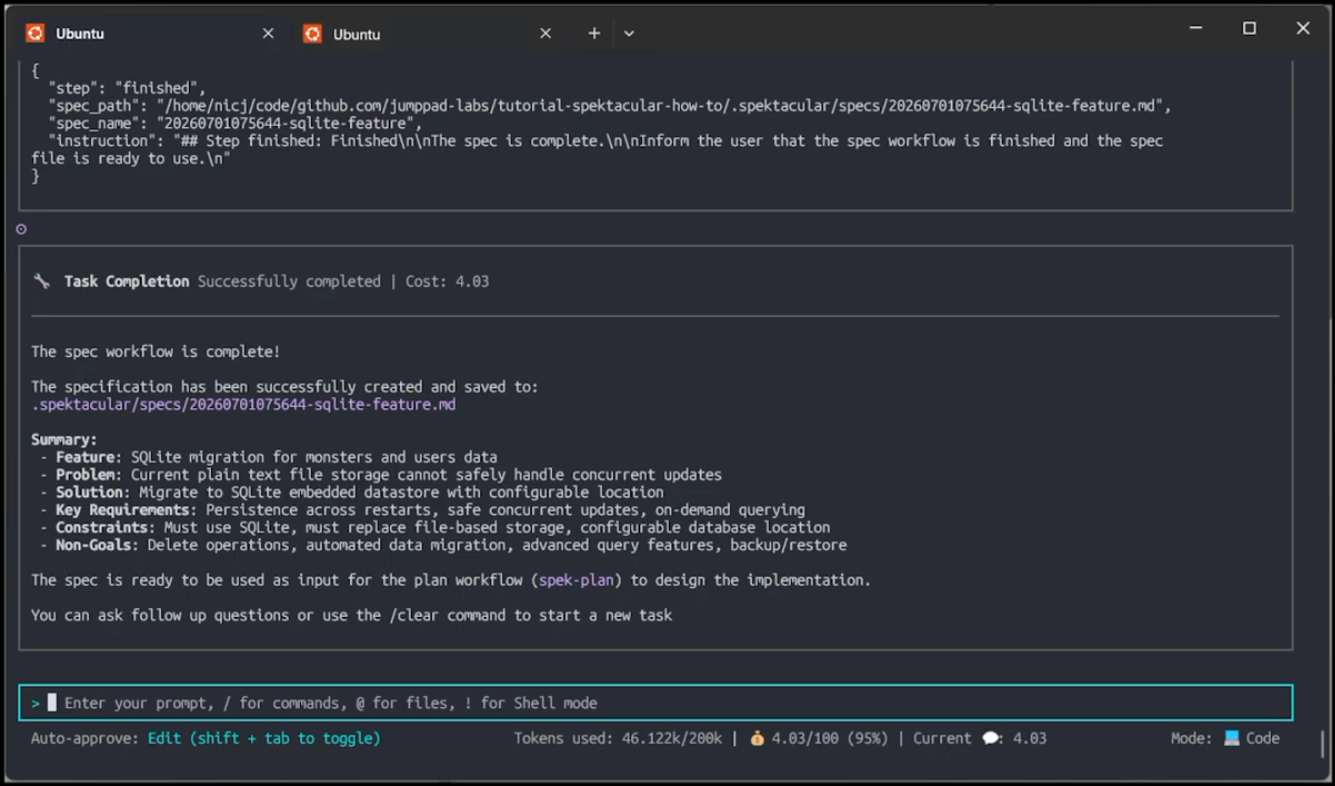
The agent will now generate your full specification and write it to the defined
specification store (in this case .spektacular/specs/). You can open the file
and review the final specification. It should look something like this:
# Feature: 20260605141835-sqlite-migration
## Overview
Today the monster and user records are kept in plain text files. This feature moves that data into a proper datastore so the system can safely handle simultaneous updates from multiple concurrent operations without relying on direct file writes. The teams that operate and extend the service benefit, because data updates become more reliable, consistent, and able to scale as usage grows.
## Requirements
- The system must persist monsters and users across service restarts.- The system must allow multiple threads to update monster and user data safely without corruption.- The system must return the latest committed monster and user data to readers.- The system must support creating, updating, and retrieving monster and user records.- The system must query the datastore on demand instead of loading all monster and user data into memory at startup.
When reviewing the specification, you may find elements you want to change or add. You can either edit the spec directly, or chat with the agent and ask it to make the changes for you.
Before we move on to the next phase of Spec Driven Development, the plan phase, let’s look at something essential to generating a good plan: the context.
Context
If we think back to the manual software development process, a product owner creates a business requirement and hands it to a developer to implement. How the developer translates that requirement into code draws on two sources of knowledge:
- what is in their head: their understanding of the language, the system’s history, past architectural decisions, and conversations with colleagues
- what is written down in documentation
The most critical knowledge is usually split across both, with a significant amount living in the collective memory of the team.
The AI agent has only what it can infer. It can read your source and try to understand your patterns, and although it has a wealth of knowledge from its training, it only sees the patterns present in the codebase in front of it, not those used across your wider application suite. APIs change continually, and the details used to train a model are not necessarily current. The macro environment, how this application fits within your wider suite, is invisible unless you tell it.
As a developer, before you start coding, you assemble all of this information. It is often the difference between success and failure. So if the agent is going to act on your behalf, it needs the same context you do.
Spektacular gives you several places to put that context:
- Project-level knowledge
- Team-level knowledge
The locations of these knowledge sources are defined in the Spektacular configuration file. By default, only the project-level knowledge base is configured on initialisation. You can add team-level knowledge sources to the configuration.
Let’s look at the project knowledge base and how to populate it with the information the agent needs to generate a good plan.
The project knowledge base
By default, the project knowledge base is located at .spektacular/knowledge/. This
directory contains the following subdirectories:
| Category | What it holds |
|---|---|
| conventions | The standing rules the team always wants honoured: coding standards, naming, house style. |
| glossary | The shared vocabulary: domain and project terms, each a term plus a short gloss. |
| architecture | How the system is built and fits together: components, boundaries, data flow. |
| gotchas | Sharp edges and non-obvious traps, and how to avoid them. |
| learnings | Empirical findings from past work: what was tried, what worked. |
| decisions | The reasoning behind choices (ADR-style): options weighed, why one path won. |
Each of these subdirectories contains text files and subfolders that you or the AI agent create. The intention is that this is the team’s collective memory, which the agent draws on when planning a new feature.
Knowledge comes in two types:
- Knowledge that is always loaded into the agent’s context when generating a plan. This is the kind of content you might traditionally put in an AGENTS.md file.
- Knowledge that is loaded on demand when the agent queries for it. This content is usually more detailed and specific to a particular feature or area of the codebase.
When your agent generates a plan, it always loads the conventions, then queries the knowledge sources as required. This approach minimises token consumption while maximising the quality of the plan.
For the SQLite migration example, we need to add two conventions:
- Context Cancellation
- Dependency Injection
Without these two conventions, the agent will not generate code that is idiomatic Go. For example, without the context cancellation convention, the plan suggests code for the database package like the following:
The `data` package maintains its existing public interface unchanged:
```gofunc GetMonster(name string) (*models.Monster, bool)func InitMonsters() error```
This is fine when dealing with data that has been loaded into memory, but when using an actual datastore, we should always allow the connection to be cancelled or the timeout to be controlled.
What we really want is a datastore that supports context cancellation like the following:
func (s *Store) GetMonster(ctx context.Context, name string) (*models.Monster, error)There is also a further problem. In the initial plan, the agent suggested that
database access should be functions in a specific package. The core problem
with this is testability: we cannot substitute these database access methods
with a mock implementation. The correct solution is to use dependency
injection, with the consumer relying on an interface rather than a concrete
implementation.
Let’s add two new files to the knowledge base that capture these conventions.
git show main:.spektacular/knowledge/conventions/context-cancellation.md > .spektacular/knowledge/conventions/context-cancellation.mdgit show main:.spektacular/knowledge/conventions/dependency-injection.md > .spektacular/knowledge/conventions/dependency-injection.mThese files contain the coding conventions and code snippets that the agent will use when generating the plan.
Context Cancellation
# Context Cancellation
Any function that performs I/O or otherwise blocks (database queries, HTTPcalls, file operations) must accept a `context.Context` as its firstparameter and thread it through to the underlying call.
# ...Dependency Injection
# Dependency Injection
All dependencies (database handles, clients, config, loggers) must be passedexplicitly to the code that uses them. Do **not** store shared state inpackage-level globals or expose it through accessor functions.
# ...
The end result is that when the agent generates the plan, it will use these conventions and produce code that looks like the following:
package handlers
type MonsterReader interface {    GetMonster(ctx context.Context, name string) (*models.Monster, error)}
type Handler struct {    store MonsterReader}
func NewHandler(store MonsterReader) *Handlerfunc (h *Handler) GetMonster(w http.ResponseWriter, r *http.Request)
As you can see, this code uses both conventions: Context Cancellation and Dependency Injection. This follows Go best practice and idioms. Should your team have a different approach, you can of course capture that in the knowledge base, and the agent will use it instead.
Let’s now look at the concept of a team knowledge base and learn how Spektacular supports multiple knowledge sources.
Multi-source knowledge
The conventions we have just covered could realistically be team- or language-based rather than project-specific. Spektacular lets you define multiple knowledge sources, so you can manage them in whatever way works best for you.
knowledge: sources: - scope: project provider: file config: location: .spektacular/knowledge - scope: team provider: file config: location: ~/work/team-knowledge - scope: global provider: file config: location: ~/spektacular-globalWhen the agent searches for context, Spektacular queries each source in order and aggregates the results. These results are passed back to the agent, which can use them or request further clarification from the user.
Let’s see all of this in action by generating the plan for our feature.
The plan
The plan is the technical implementation blueprint of what the agent will produce. It provides enough detail to give you a firm idea of direction and enough context for the implementation itself.
As with the specification, you create a plan using the spek-plan skill.
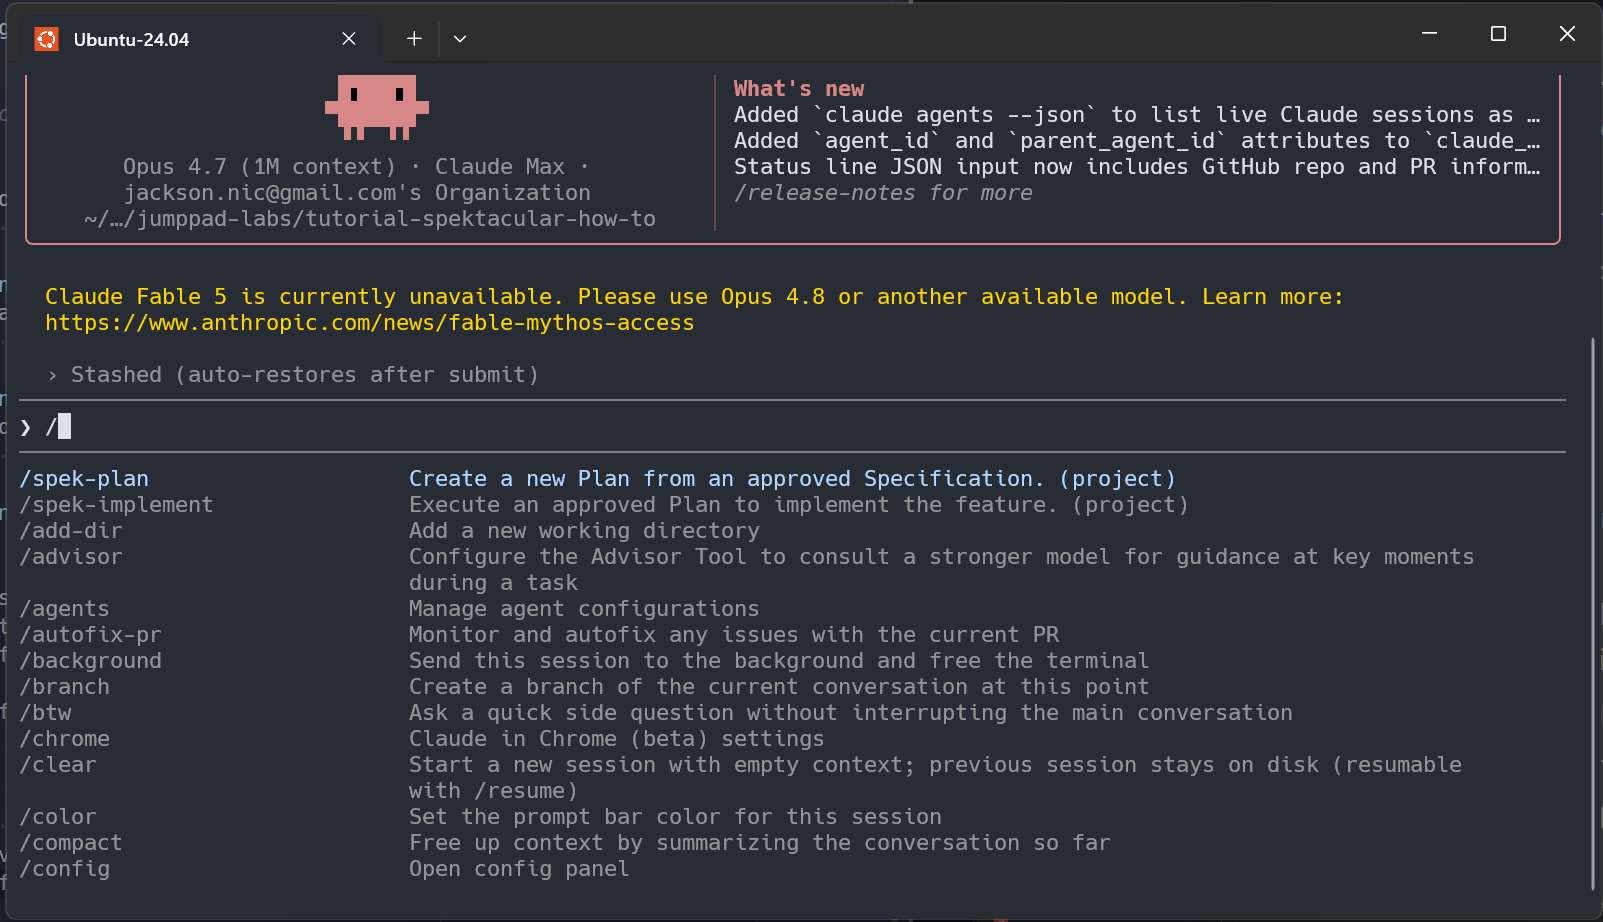
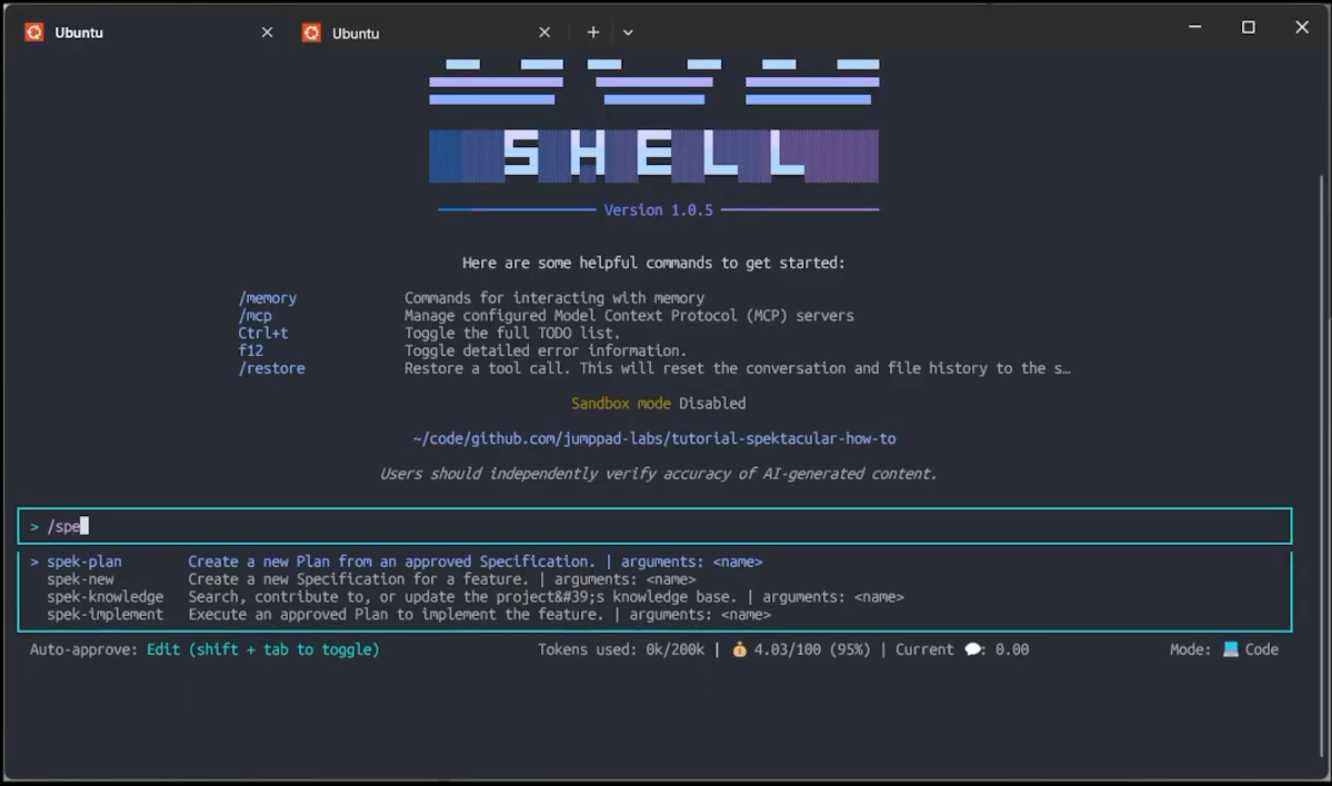
The agent will then prompt you to enter the name of the specification you want to generate a plan for. Select the spec you just created, and the agent will start to generate the plan using the configured context.
During the planning process, the agent will ask you for clarification on any points it cannot infer from the specification or the context.
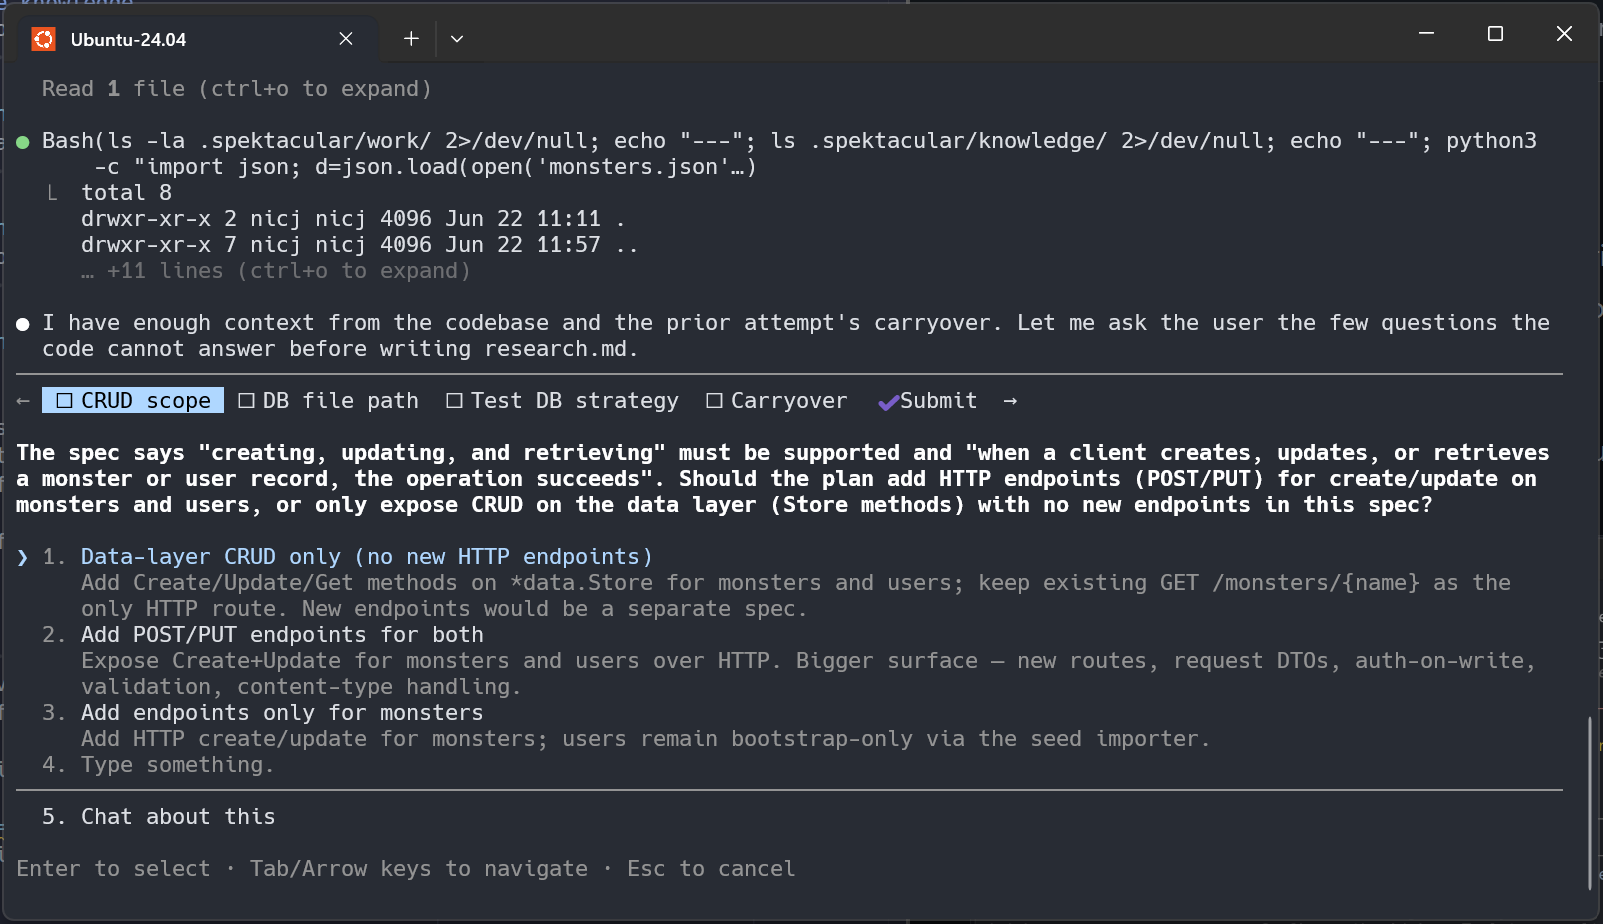
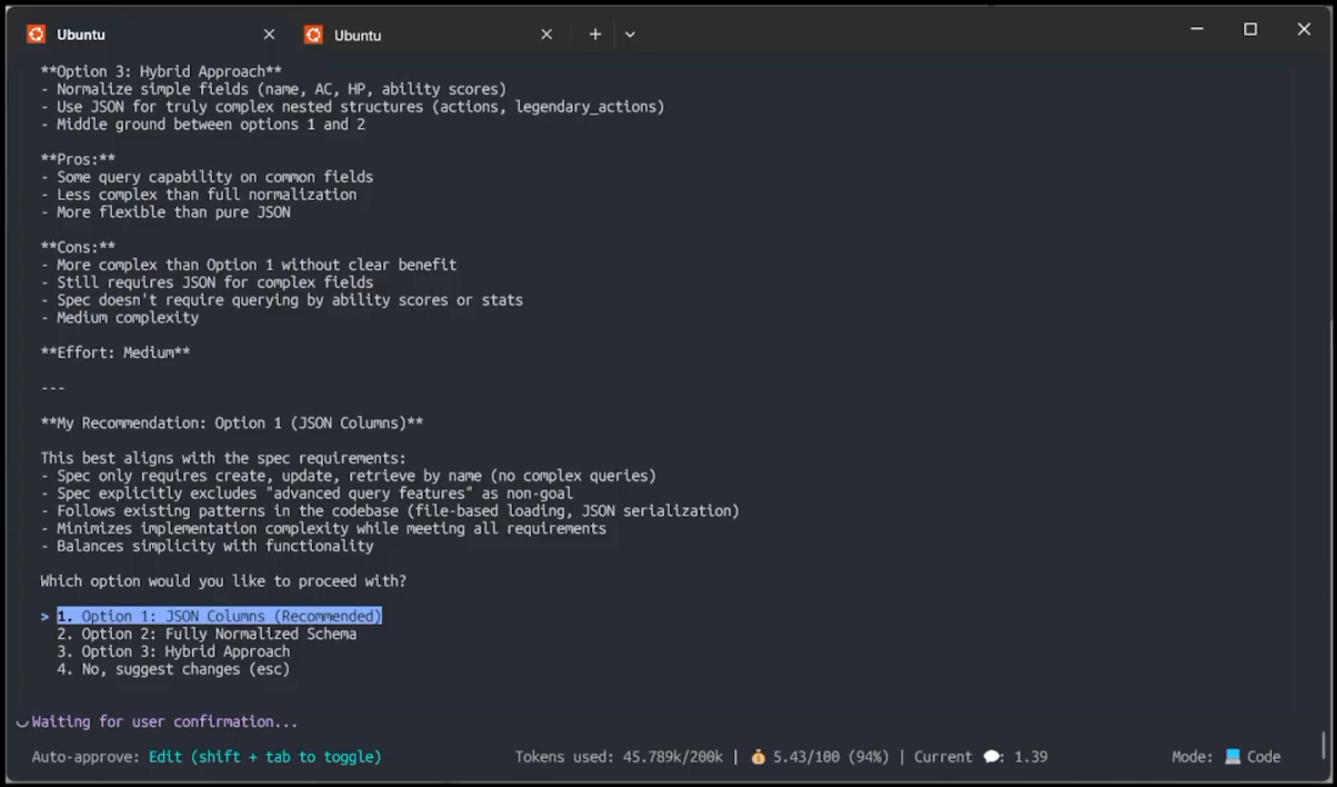
You will also be asked to confirm some architectural decisions the agent has retrieved from the specification and the context.
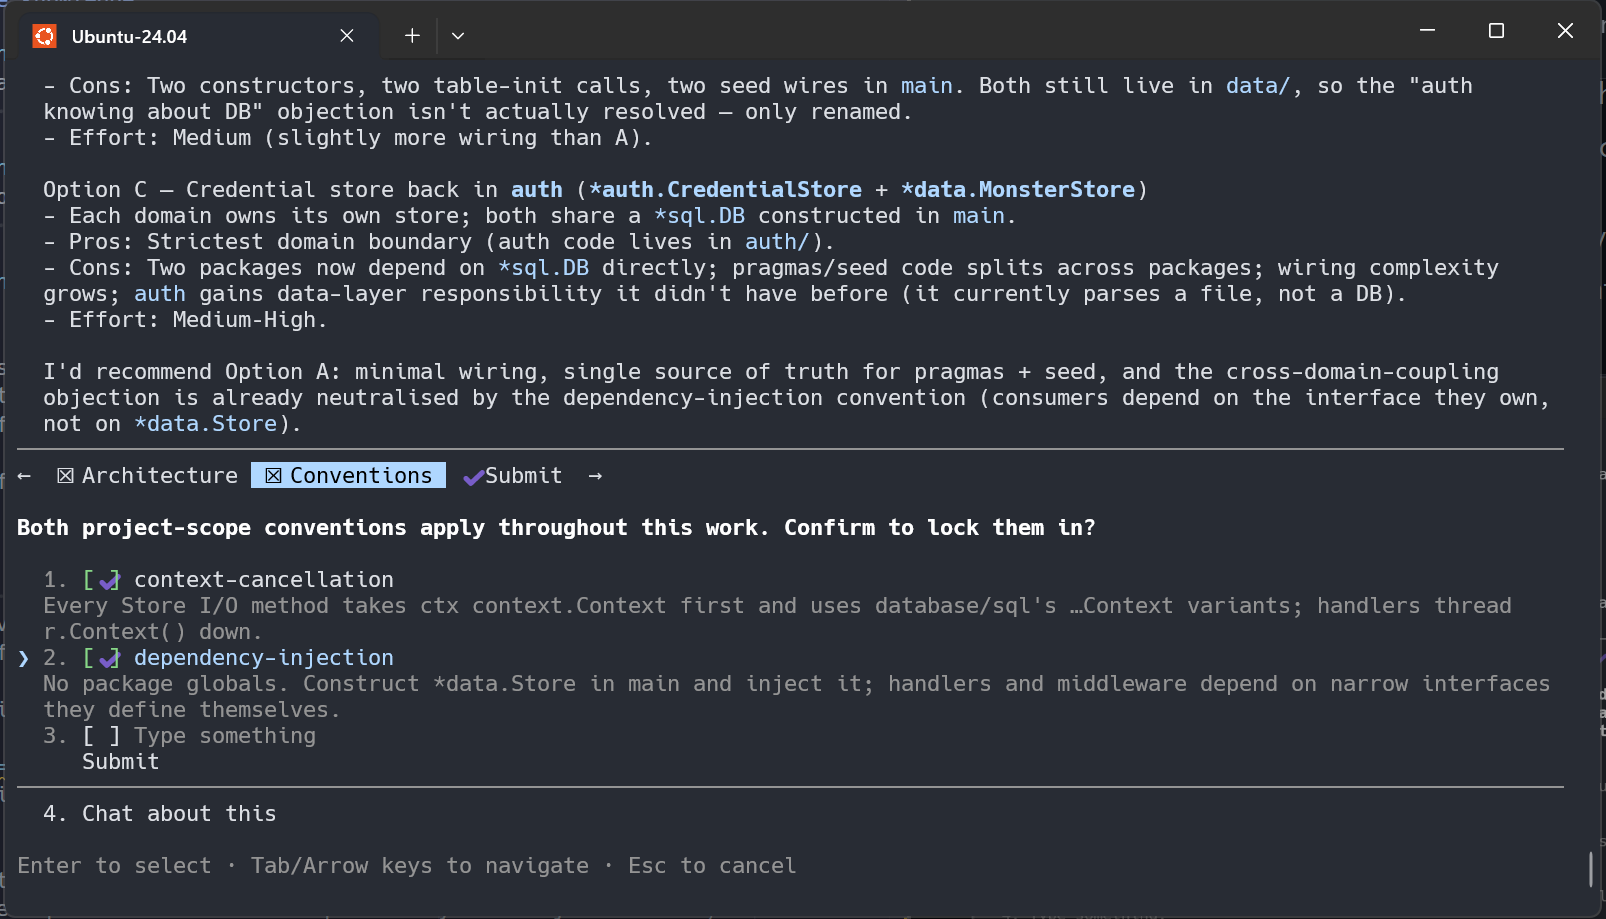
The agent will then proceed to generate the required sections of the plan and write three files to the plans directory:
| File | Consumer | Description |
|---|---|---|
context.md | Agent | Context that is relevant to the implementation of this feature, having a distilled context file allows the implementing agent to load only the most relevant context for the implementation phase. |
research.md | Agent | Any research that the agent did to fill in gaps in the specification or to make decisions during the planning process. |
plan.md | Agent / User | The actual plan, this is the technical blueprint for the implementation. |
Before proceeding to the implementation phase, you should review the plan and make any changes you feel are required. The plan is a working document: you can either edit it directly, or ask the agent to make changes for you.
Once you are happy with the plan, you can move on to the implementation phase and generate the final code.
Implementation
In terms of user input, the implementation phase is the simplest of the three, as all the requirements the agent needs have already been captured.
In this phase, the agent reads the plan and generates the code that implements the feature.
You can start the implementation phase by running the spek-implement skill and selecting the plan you want to implement.
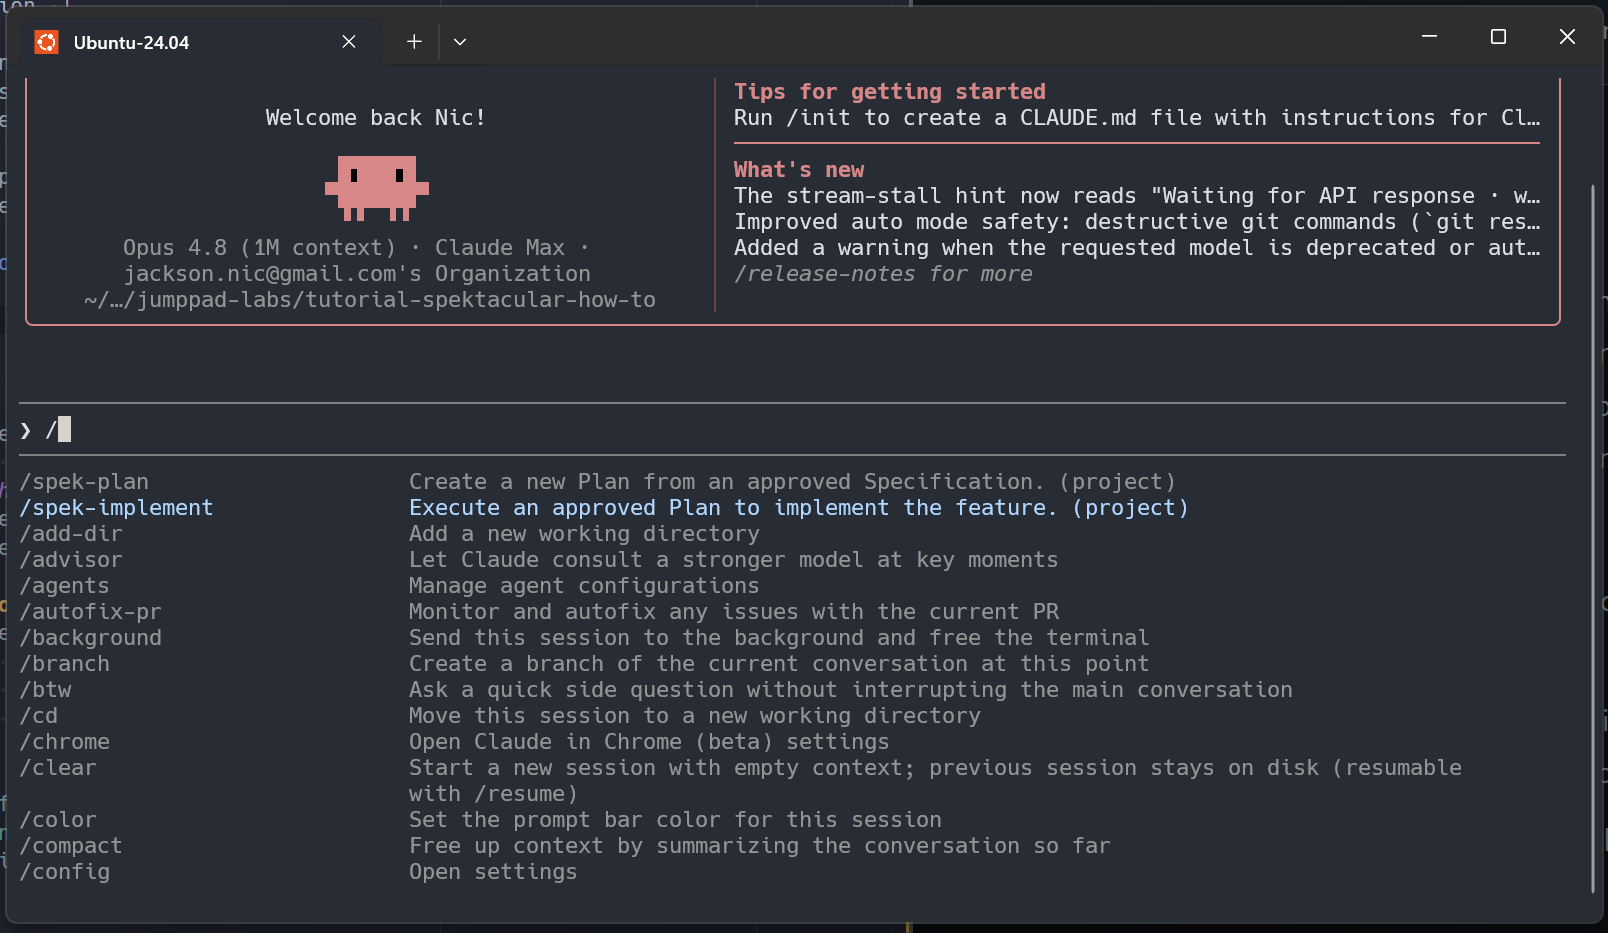
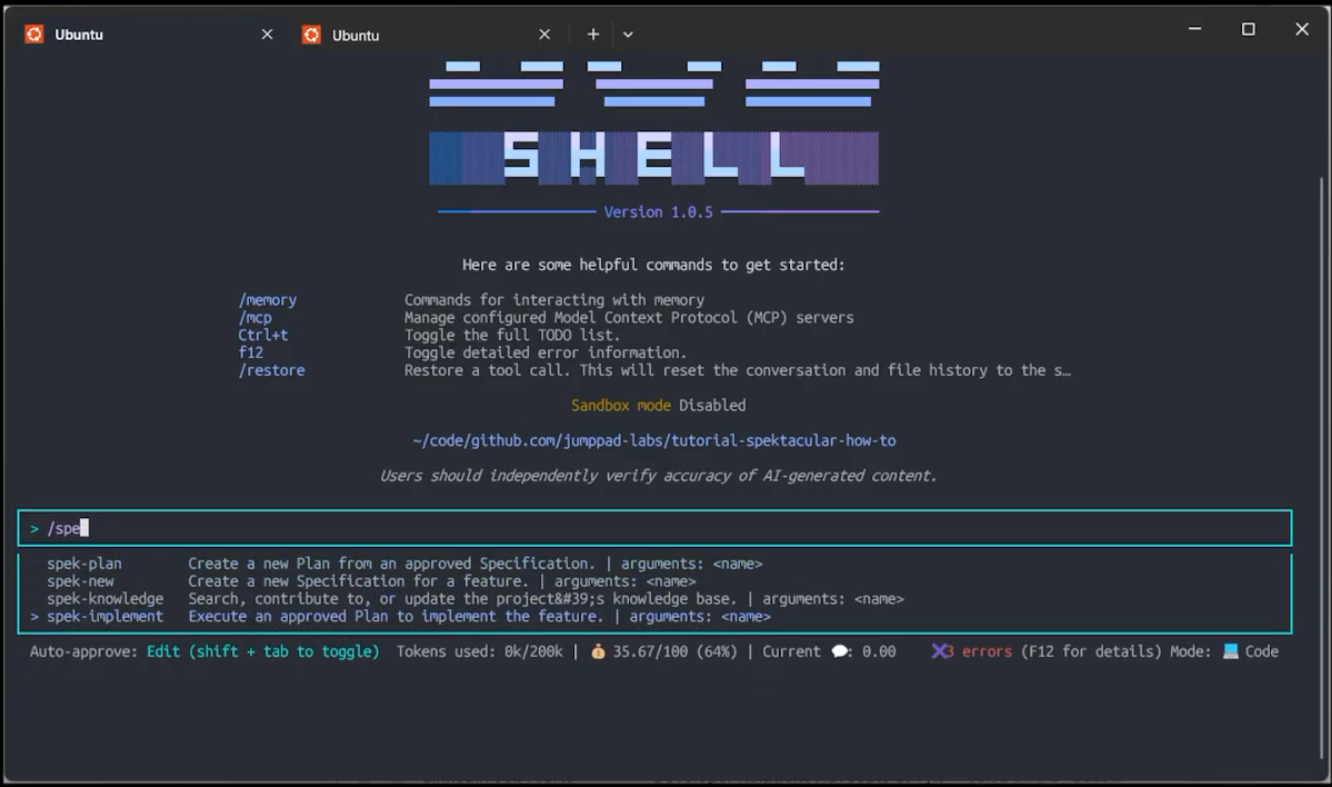
During the implementation phase, the agent should run largely unattended. You may get questions about running commands or writing files, which are part of the agent’s normal code-generation workflow. The agent works through the plan milestone by milestone, and after each milestone it will prompt you to review the changes to the codebase and approve them before moving on to the next one.
Once all the milestones are complete, the agent will give you a final summary of the changes it has made.
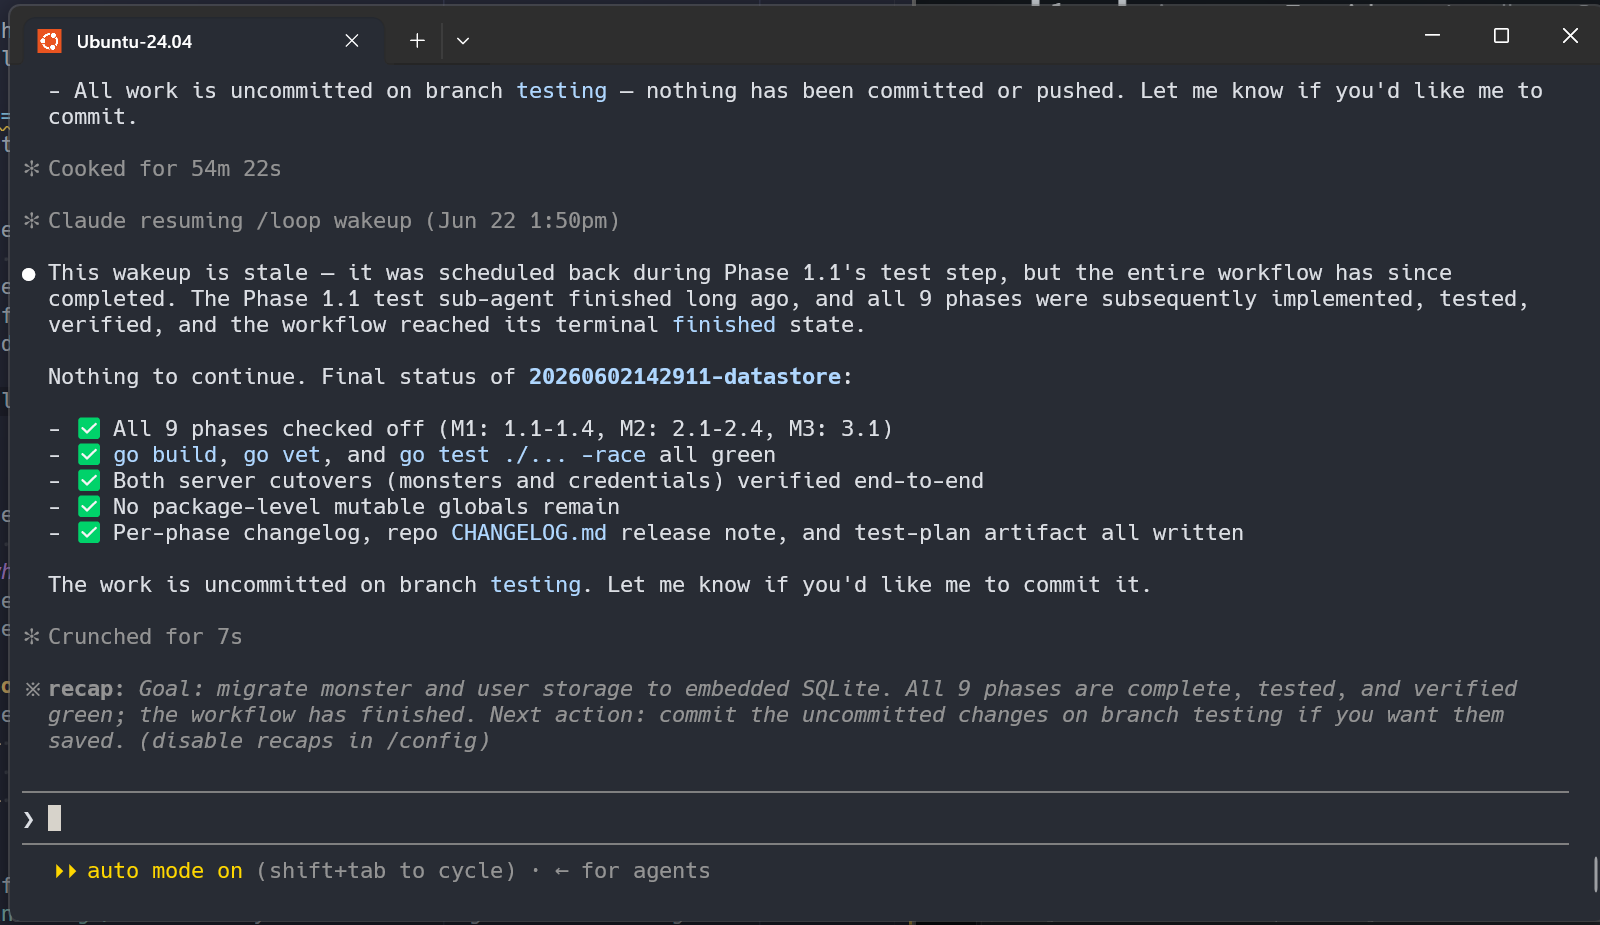
The agent will attempt to create and run automated tests to verify the feature. For anything it cannot cover automatically, it writes a manual test plan into the plans directory instead. In our case we defined no explicit success metrics, so the agent verified the acceptance criteria with automated tests and recorded that no manual testing was needed:
# Test Plan: 20260605141835-sqlite-migration
The spec defines no success metrics, and the plan's Testing Approach confirms there are none to verify. Every acceptance criterion is covered by an automated behavioural test (see the acceptance-criteria coverage map at the top of `data/store_test.go`), and the two server-cutover phases were additionally validated end-to-end by running the built binary.
All success metrics are covered by automated behavioural tests; no manual test plan is required.
This completes the implementation phase and concludes the tutorial. You should now have a working feature implemented using the Spec Driven Development workflow. All that is left is to create a branch, commit your code, and open a pull request.
Conclusion
Spec Driven Development is not a productivity hack, and it is not a way to remove humans from the loop. It is a way of front-loading the conversation about what you want and what your system already does into a place the agent can actually use, so that the implementation step becomes the boring one. The three pillars stay the same regardless of which tool you use:
- Specification: written by a human, focused on behaviour and constraints, never on implementation.
- Context: the team’s collective memory written down, plus live documentation for anything that changes faster than the model.
- Process: spec, plan, refine, implement, with humans in the loop at every transition.
In addition to producing better, more correct code, the process also produces a living record of the work that was done, and why. The specification and plan are both written down, and the implementation is reviewed and approved by a human at every step. This makes it easier to onboard new team members, to review past decisions, and to understand how the system works.